

Introduction
QuickSight, an AWS BI service, allows you to embed your dashboard into a page on an external website. In this article, I will introduce the steps required to embed a dashboard into a website.
Prepare your website
In order to embed the dashboard into a website, an HTTPS domain is required. In this case, we will prepare the HTTPS domain by performing static website hosting on S3, and furthermore, by converting to HTTPS with CloudFront.
S3
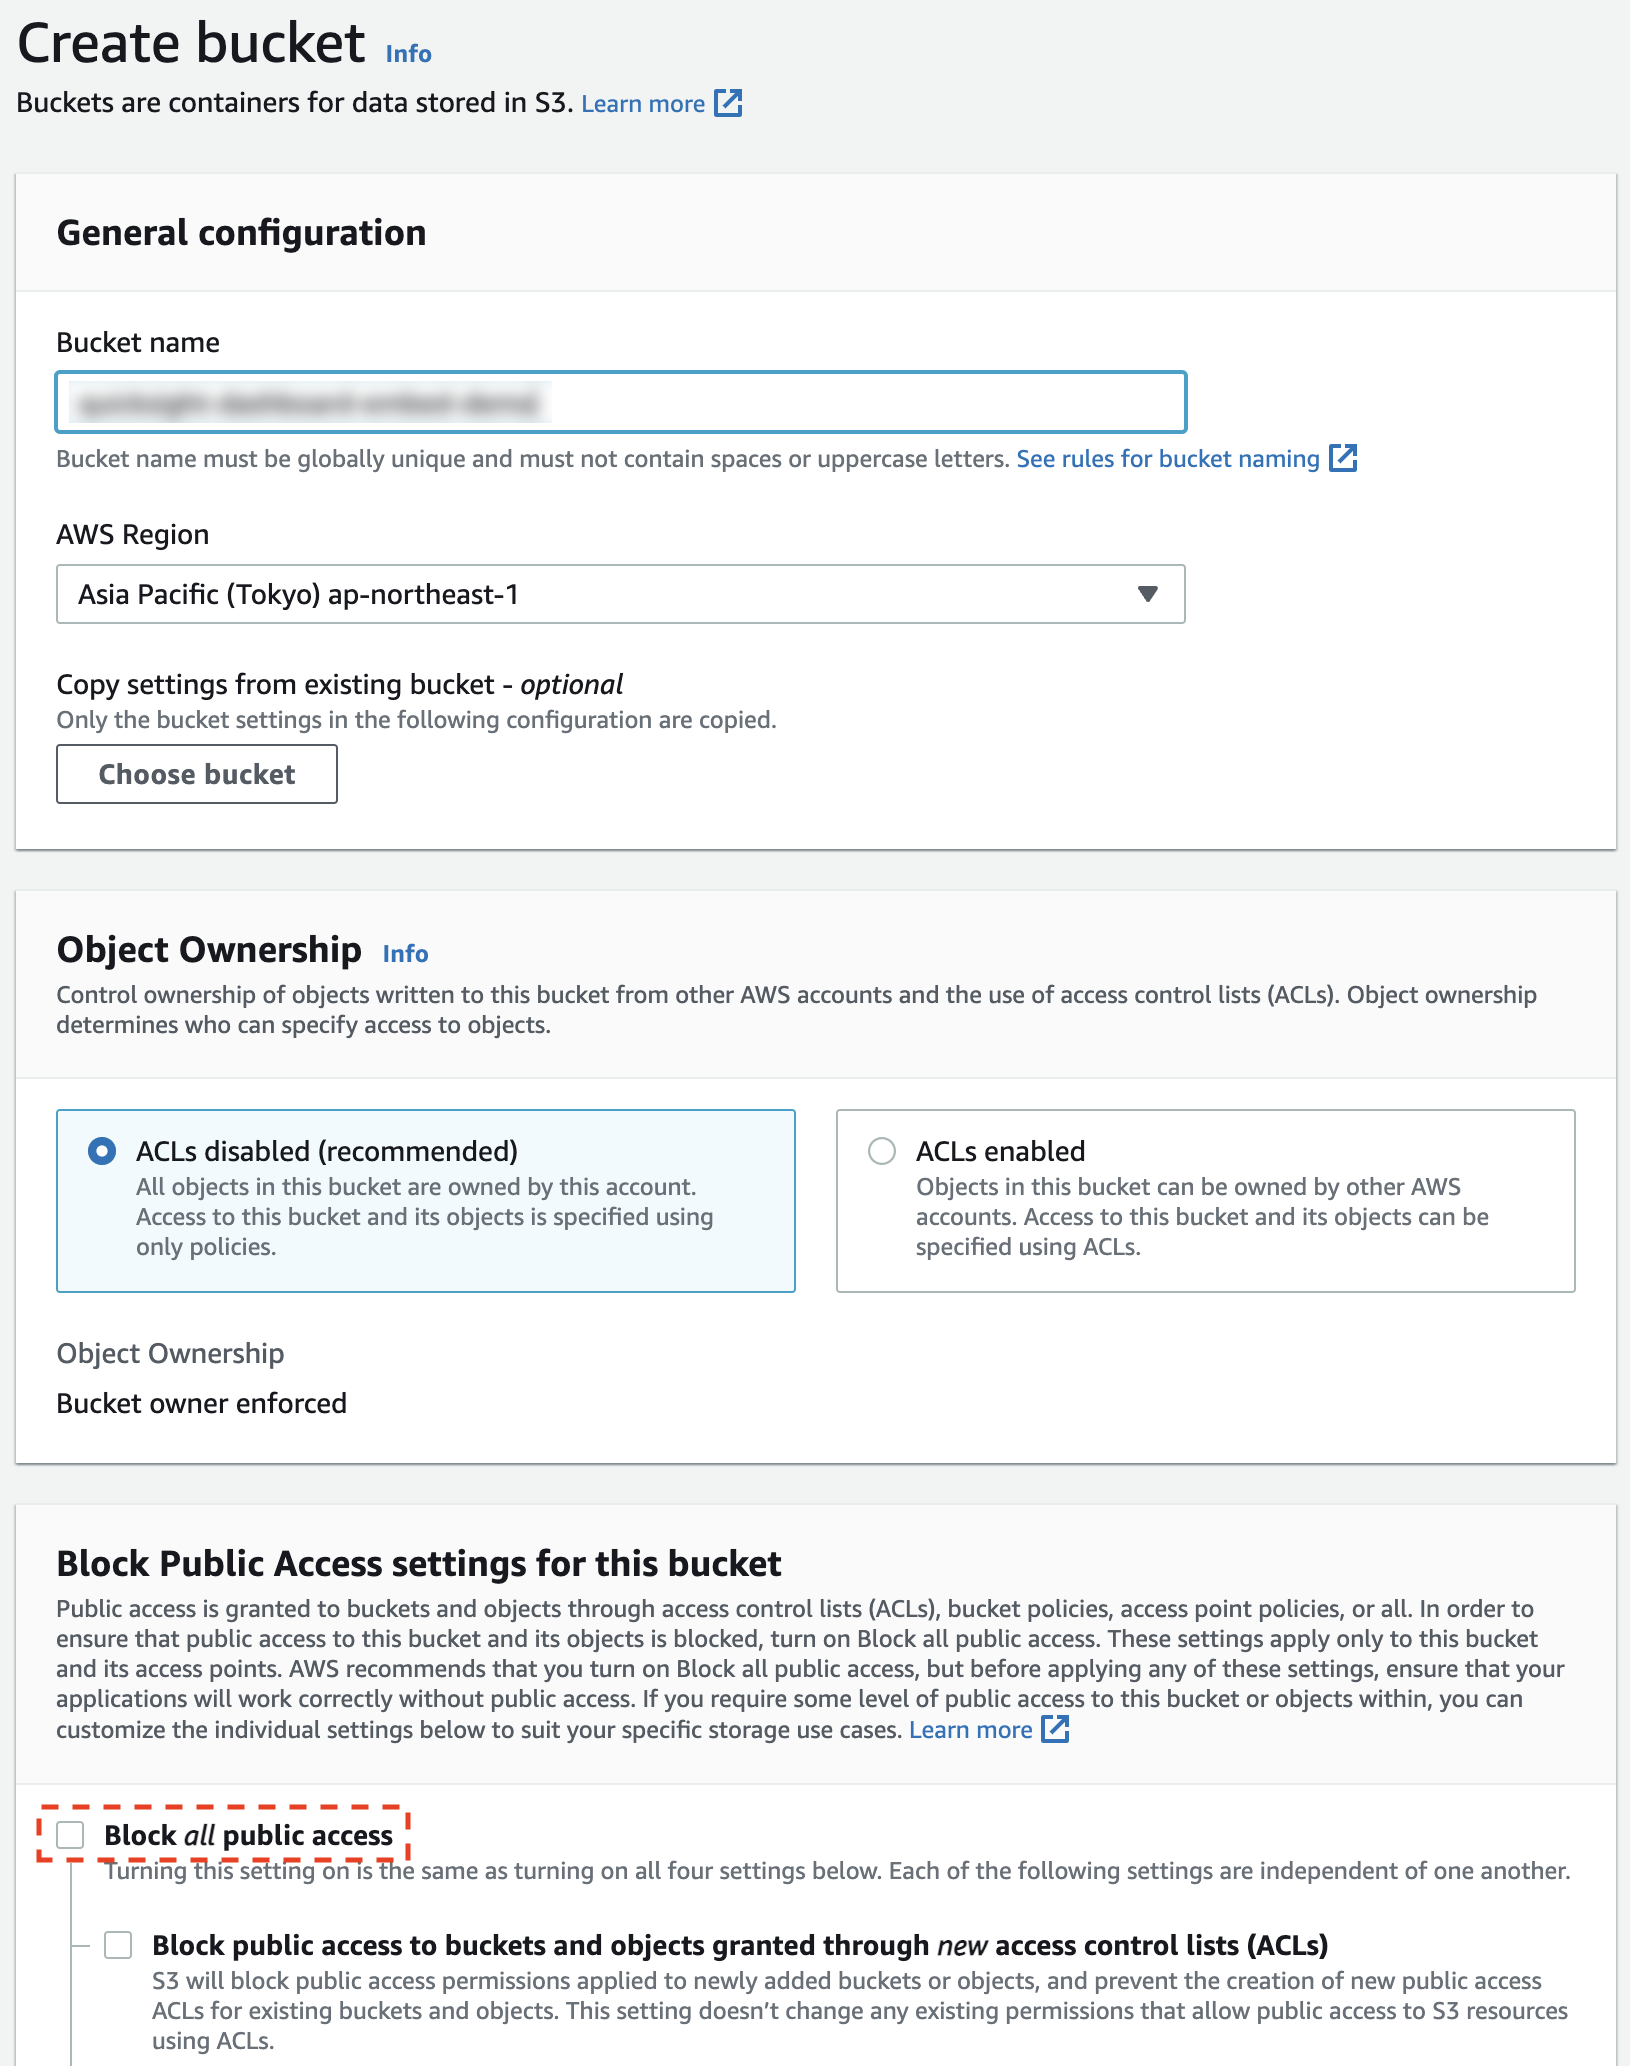
First, create an S3 bucket. Uncheck the "Block all public access" checkbox.
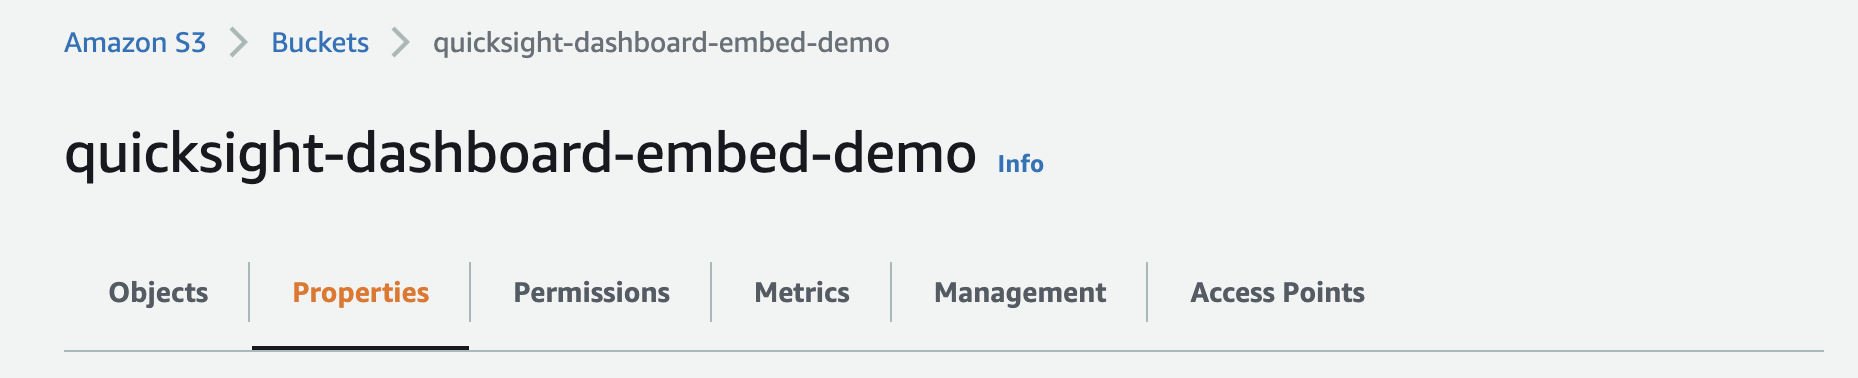
Next, go to the "Properties" tab.
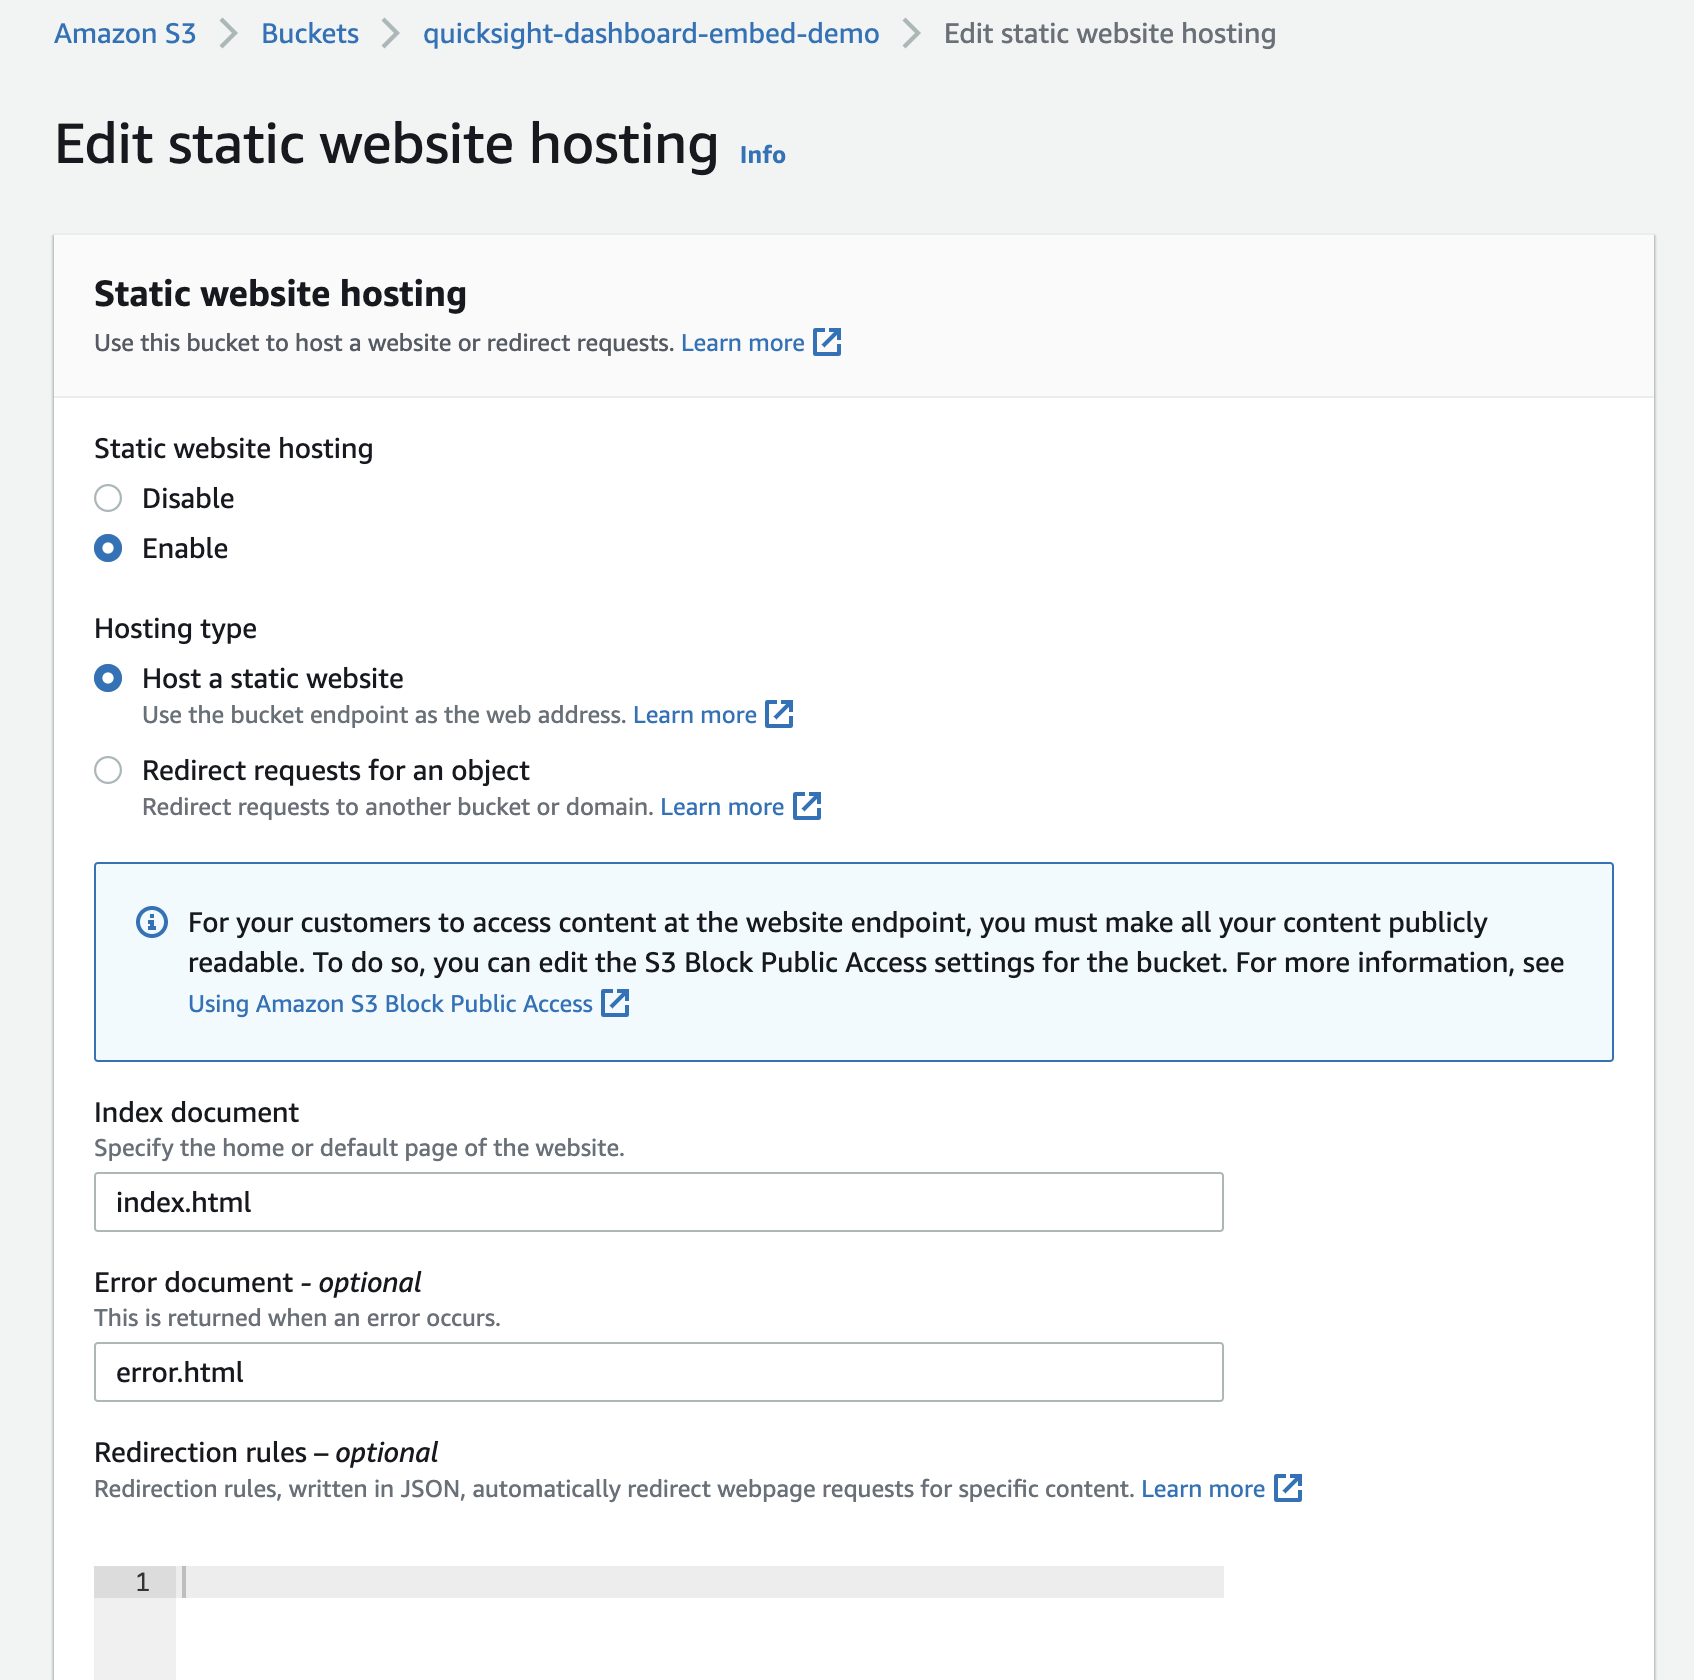
Click the "Edit" button under "Static Website hosting.

Set Static website hosting to Enable, enter index.html in Index document and error.html in Error document and save.
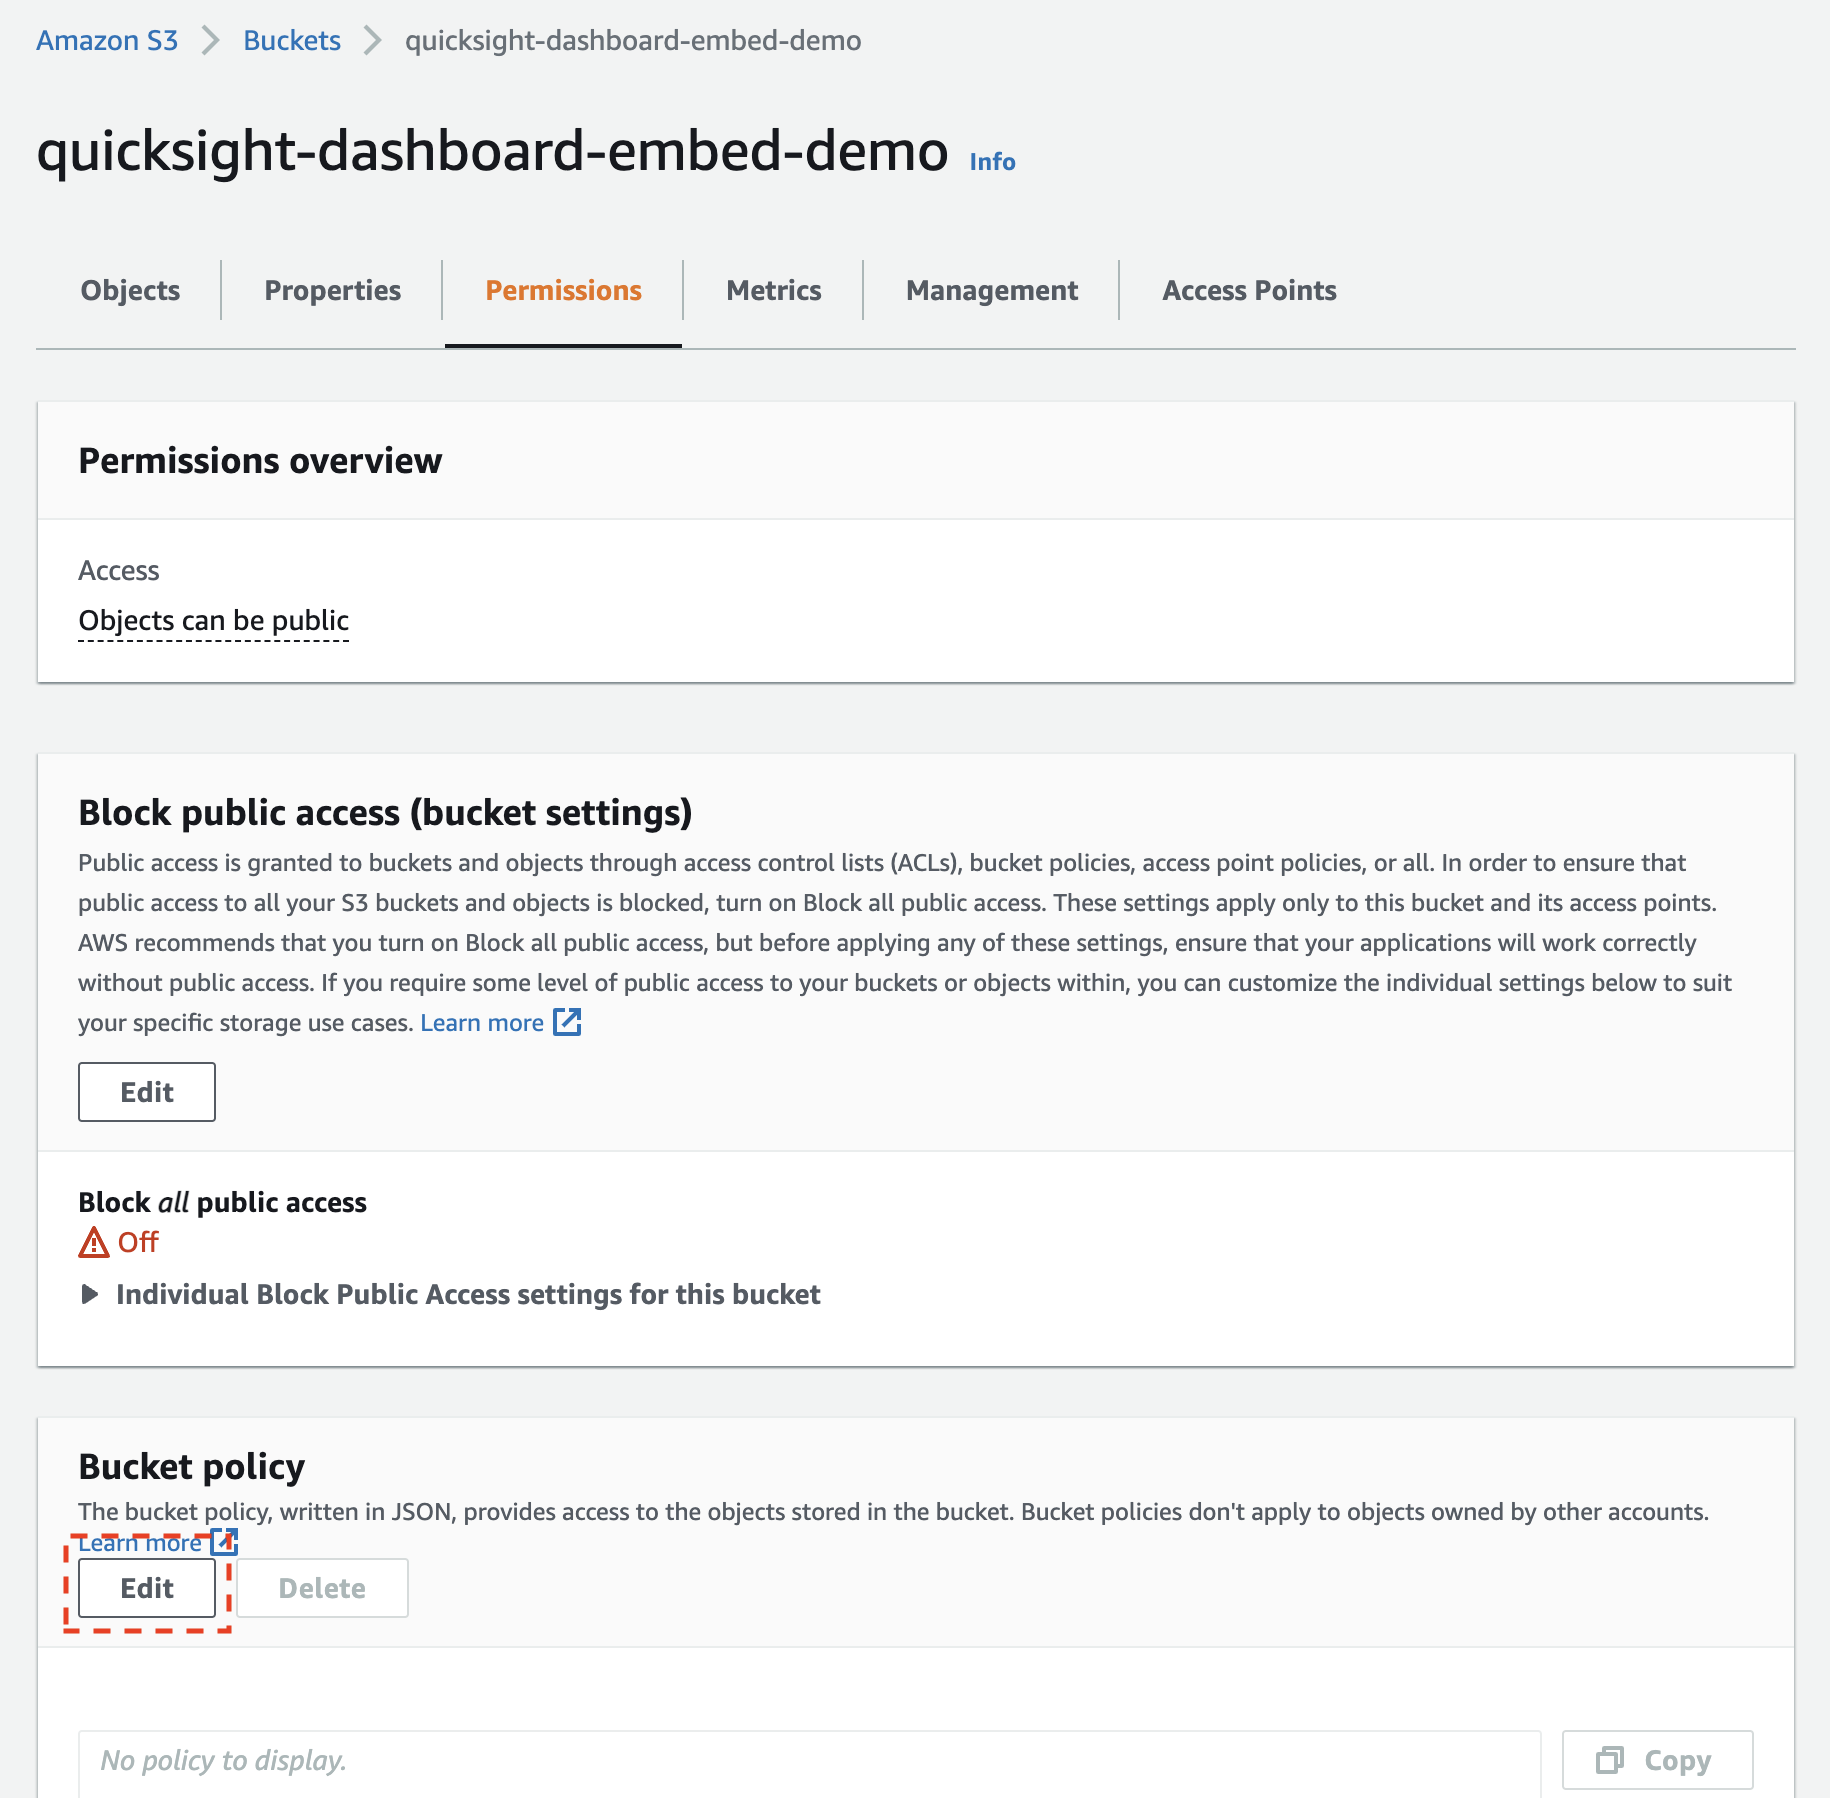
Next, go to the "Permissions" tab and click the "Edit" button under "Bucket policy".
Set the following JSON to the bucket policy
{
  "Version": "2012-10-17",
  "Statement": [
    {
      "Sid": "PublicReadGetObject",
      "Effect": "Allow",
      "Principal": "*",
      "Action": "s3:GetObject",
      "Resource": "arn:aws:s3:::<YOUR BUCKET NAME>/*"
    }
  ]
}
Create an HTML file like the following
<!DOCTYPE html>
<html>
  <head></head>
  <body>
    <div>
      <h1>QuickSight Dashboard Embedding</h1>
    </div>
  </body>
</html>
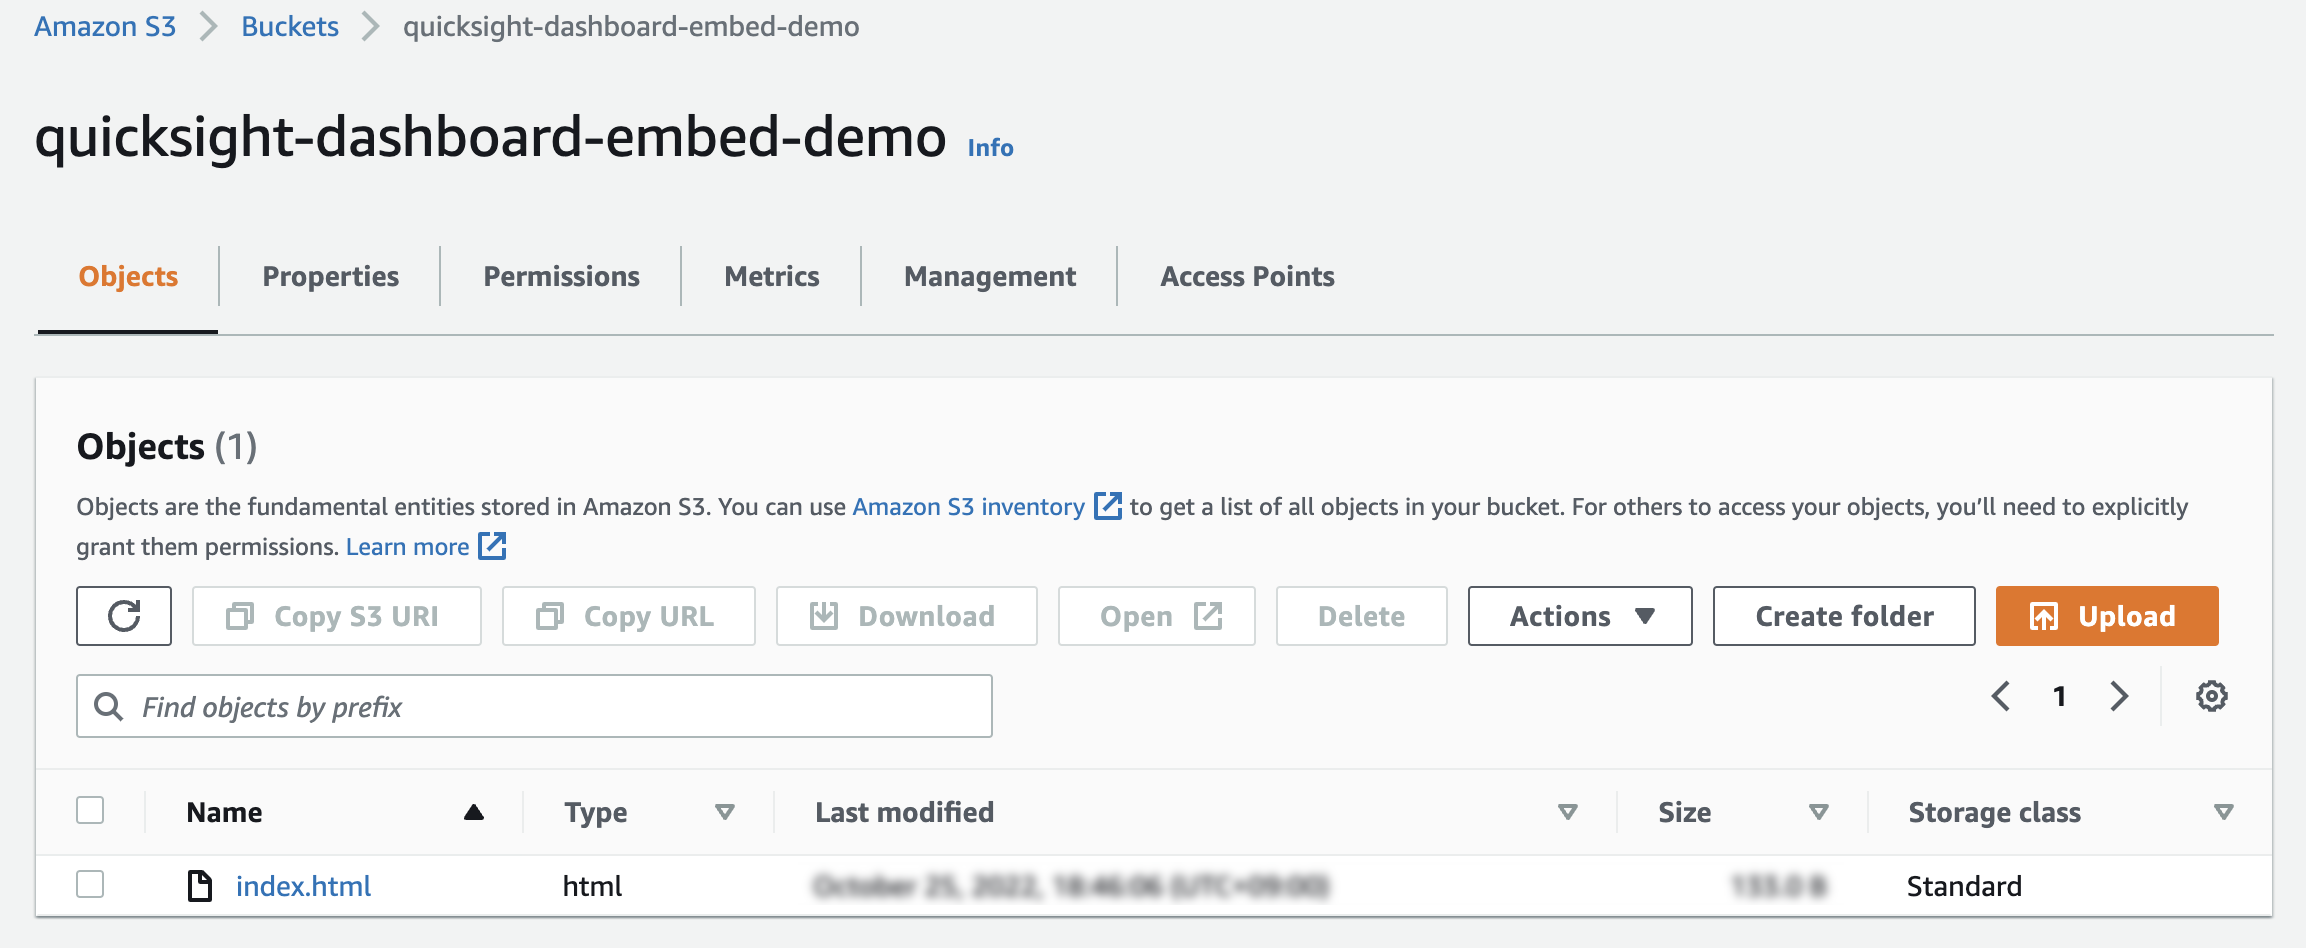
Upload the created index.html to S3.
CloudFront
Go to the CloudFront console and click "Create distribution".

Select the S3 bucket you created for "Origin domain".
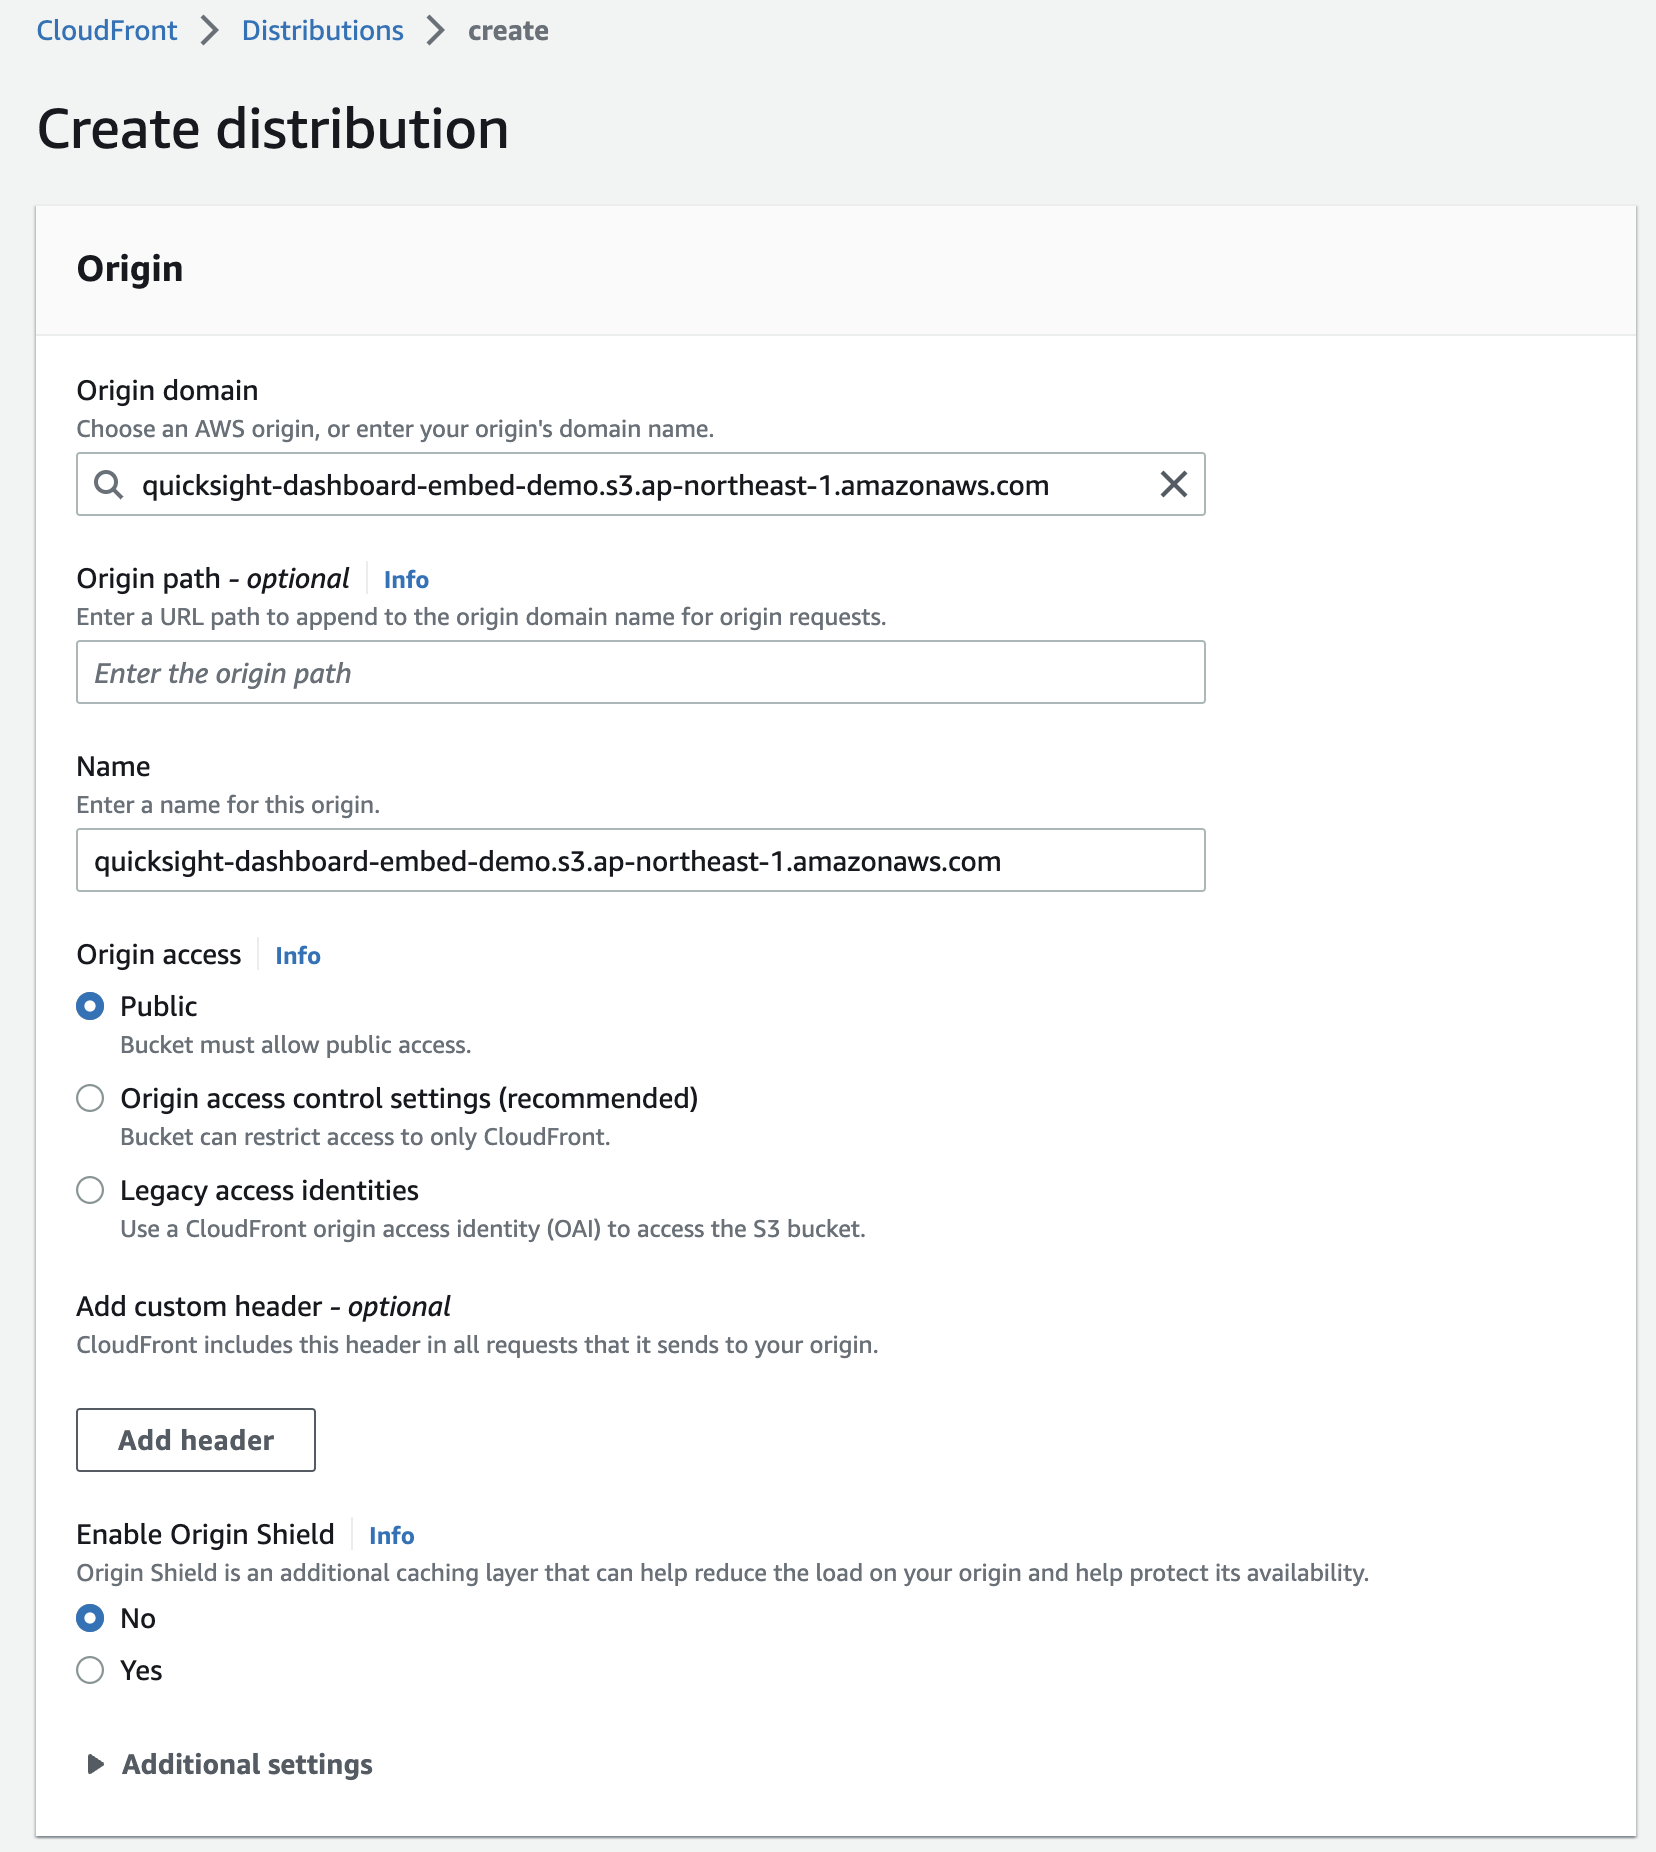
Enter index.html in the "Default root object" field.

Confirm the above capture and create Distribution.
QuickSight domain Settings
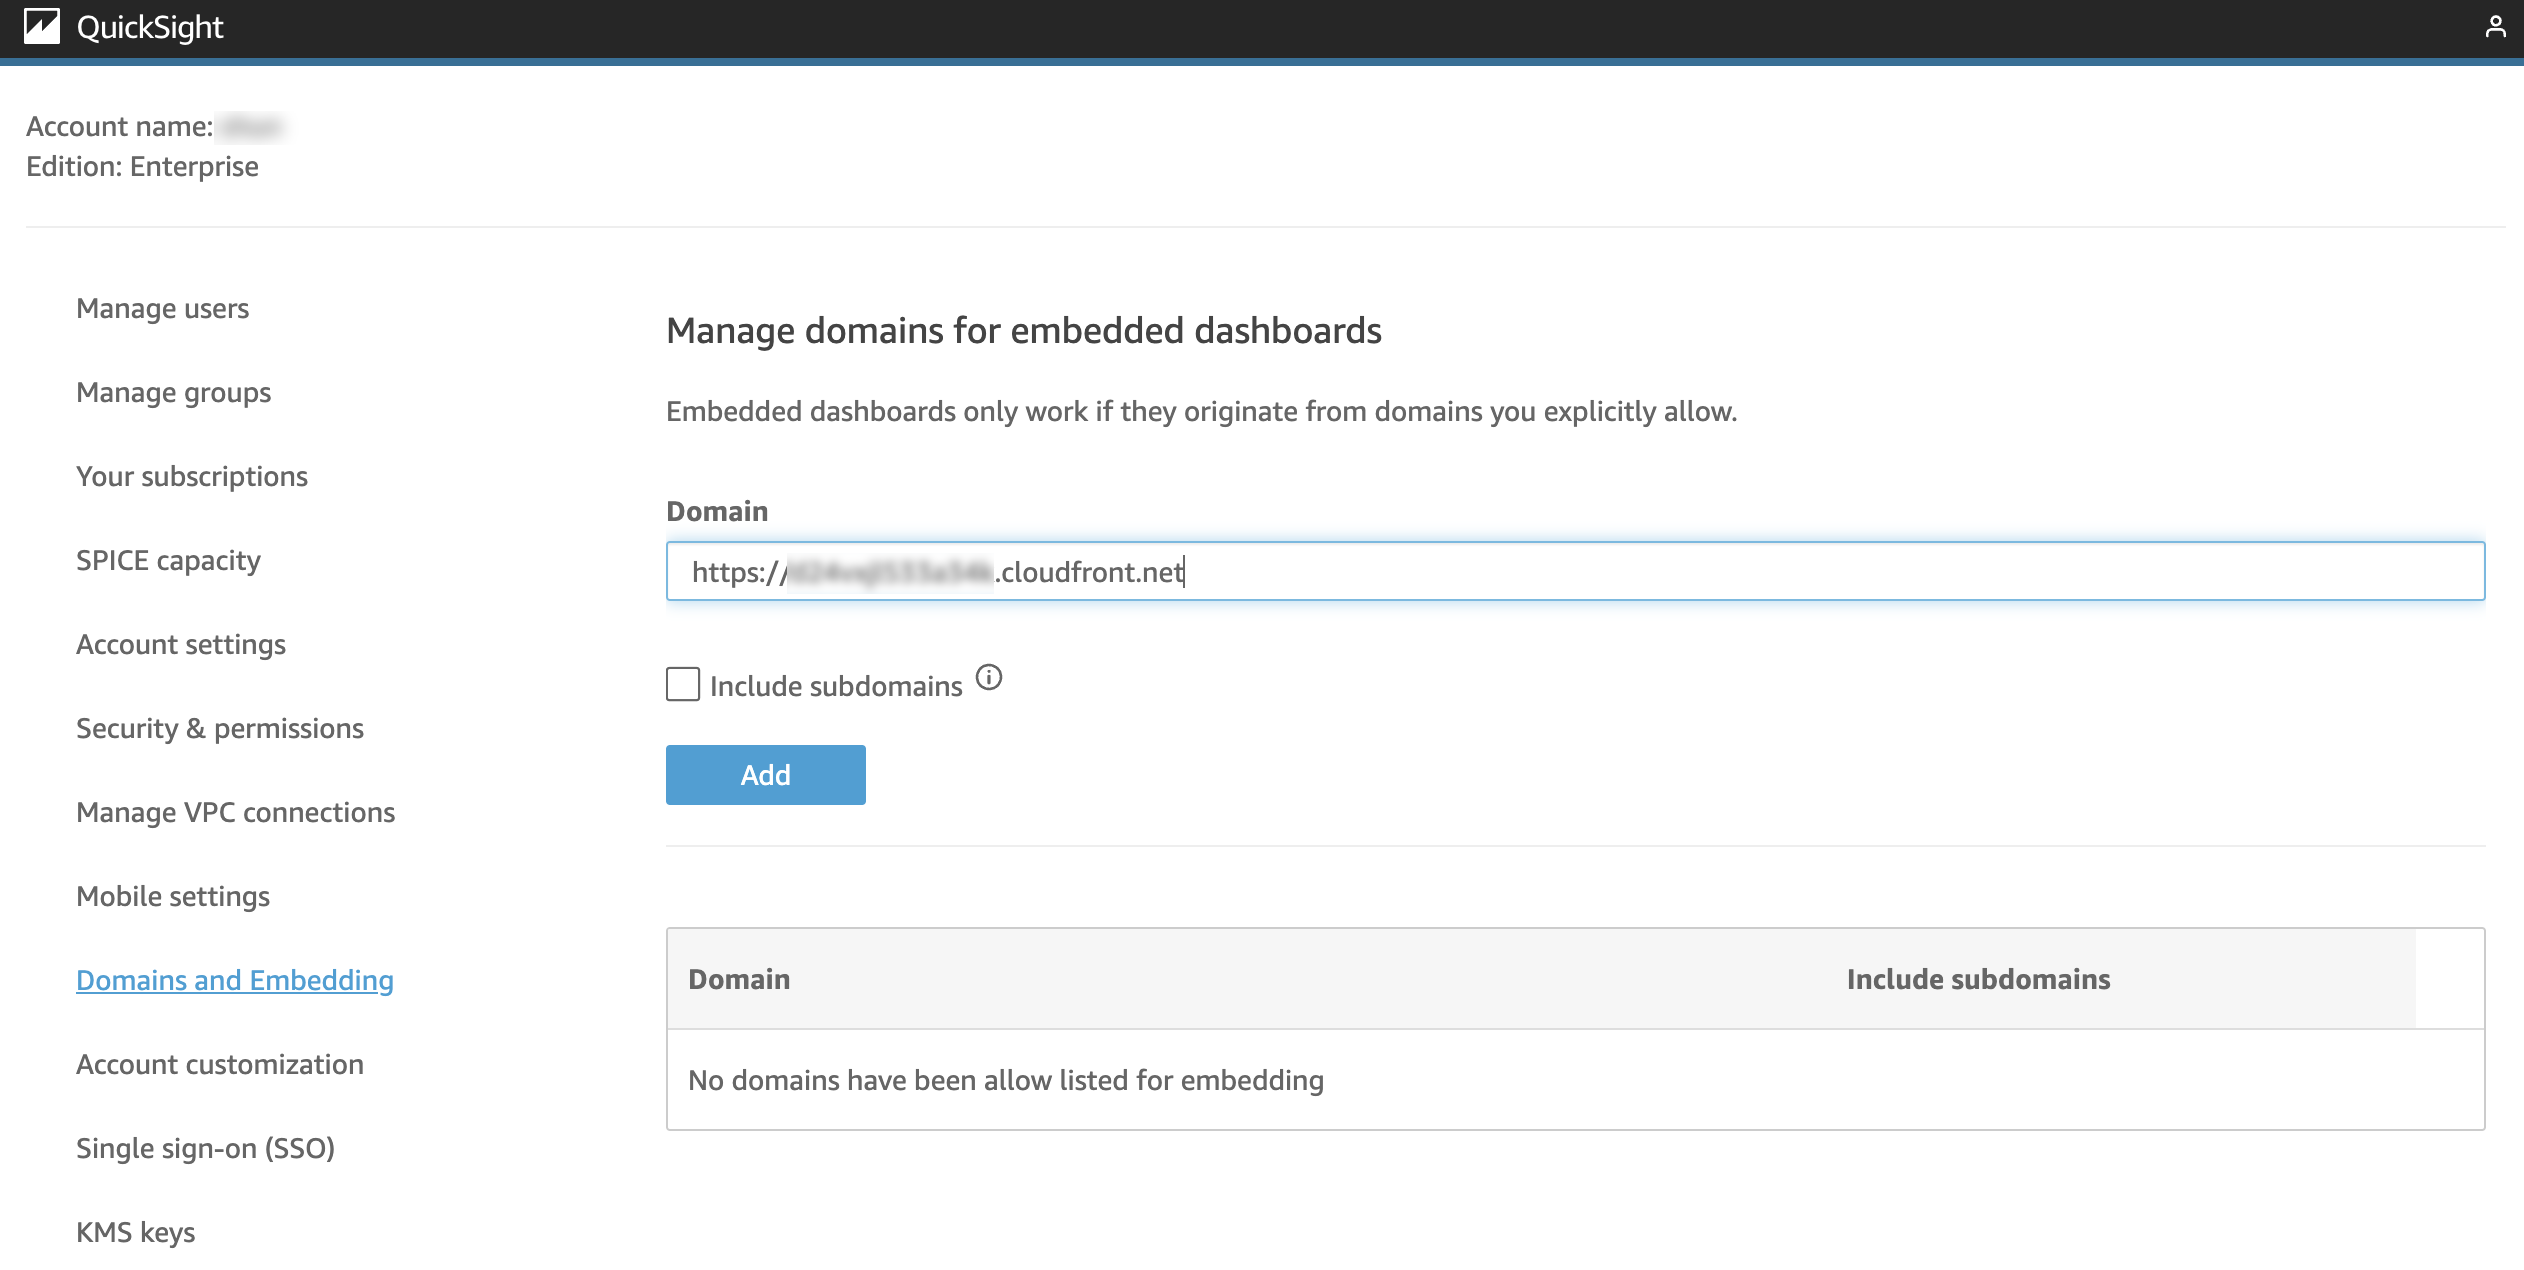
To embed a QuikcSight dashboard on the web, you must register the HTTPS domain you wish to embed with QuikcSight.
Go to the QuickSight administration page and add the domain in the "Domains and Embedding" section. In this case, we will add the CloudFront domain that we created. Note that you should not put / at the end of the domain.
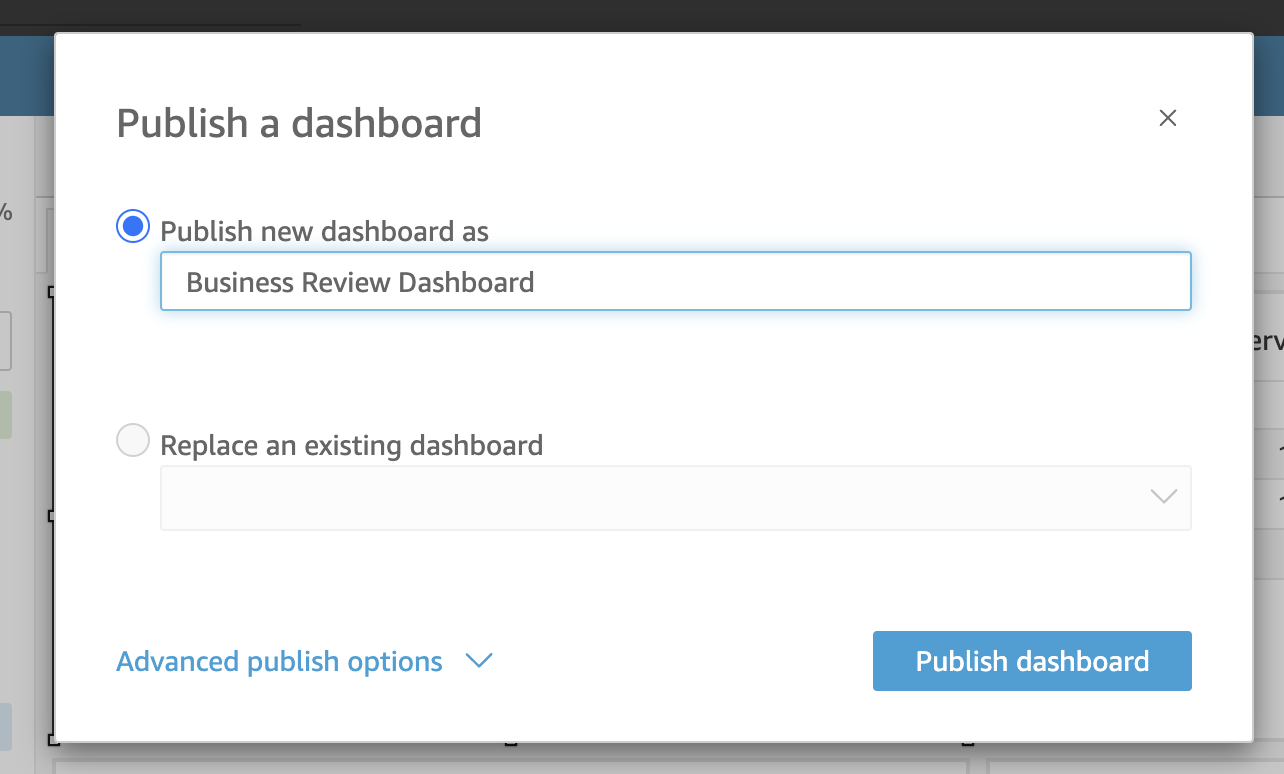
Create & publish a dashboard
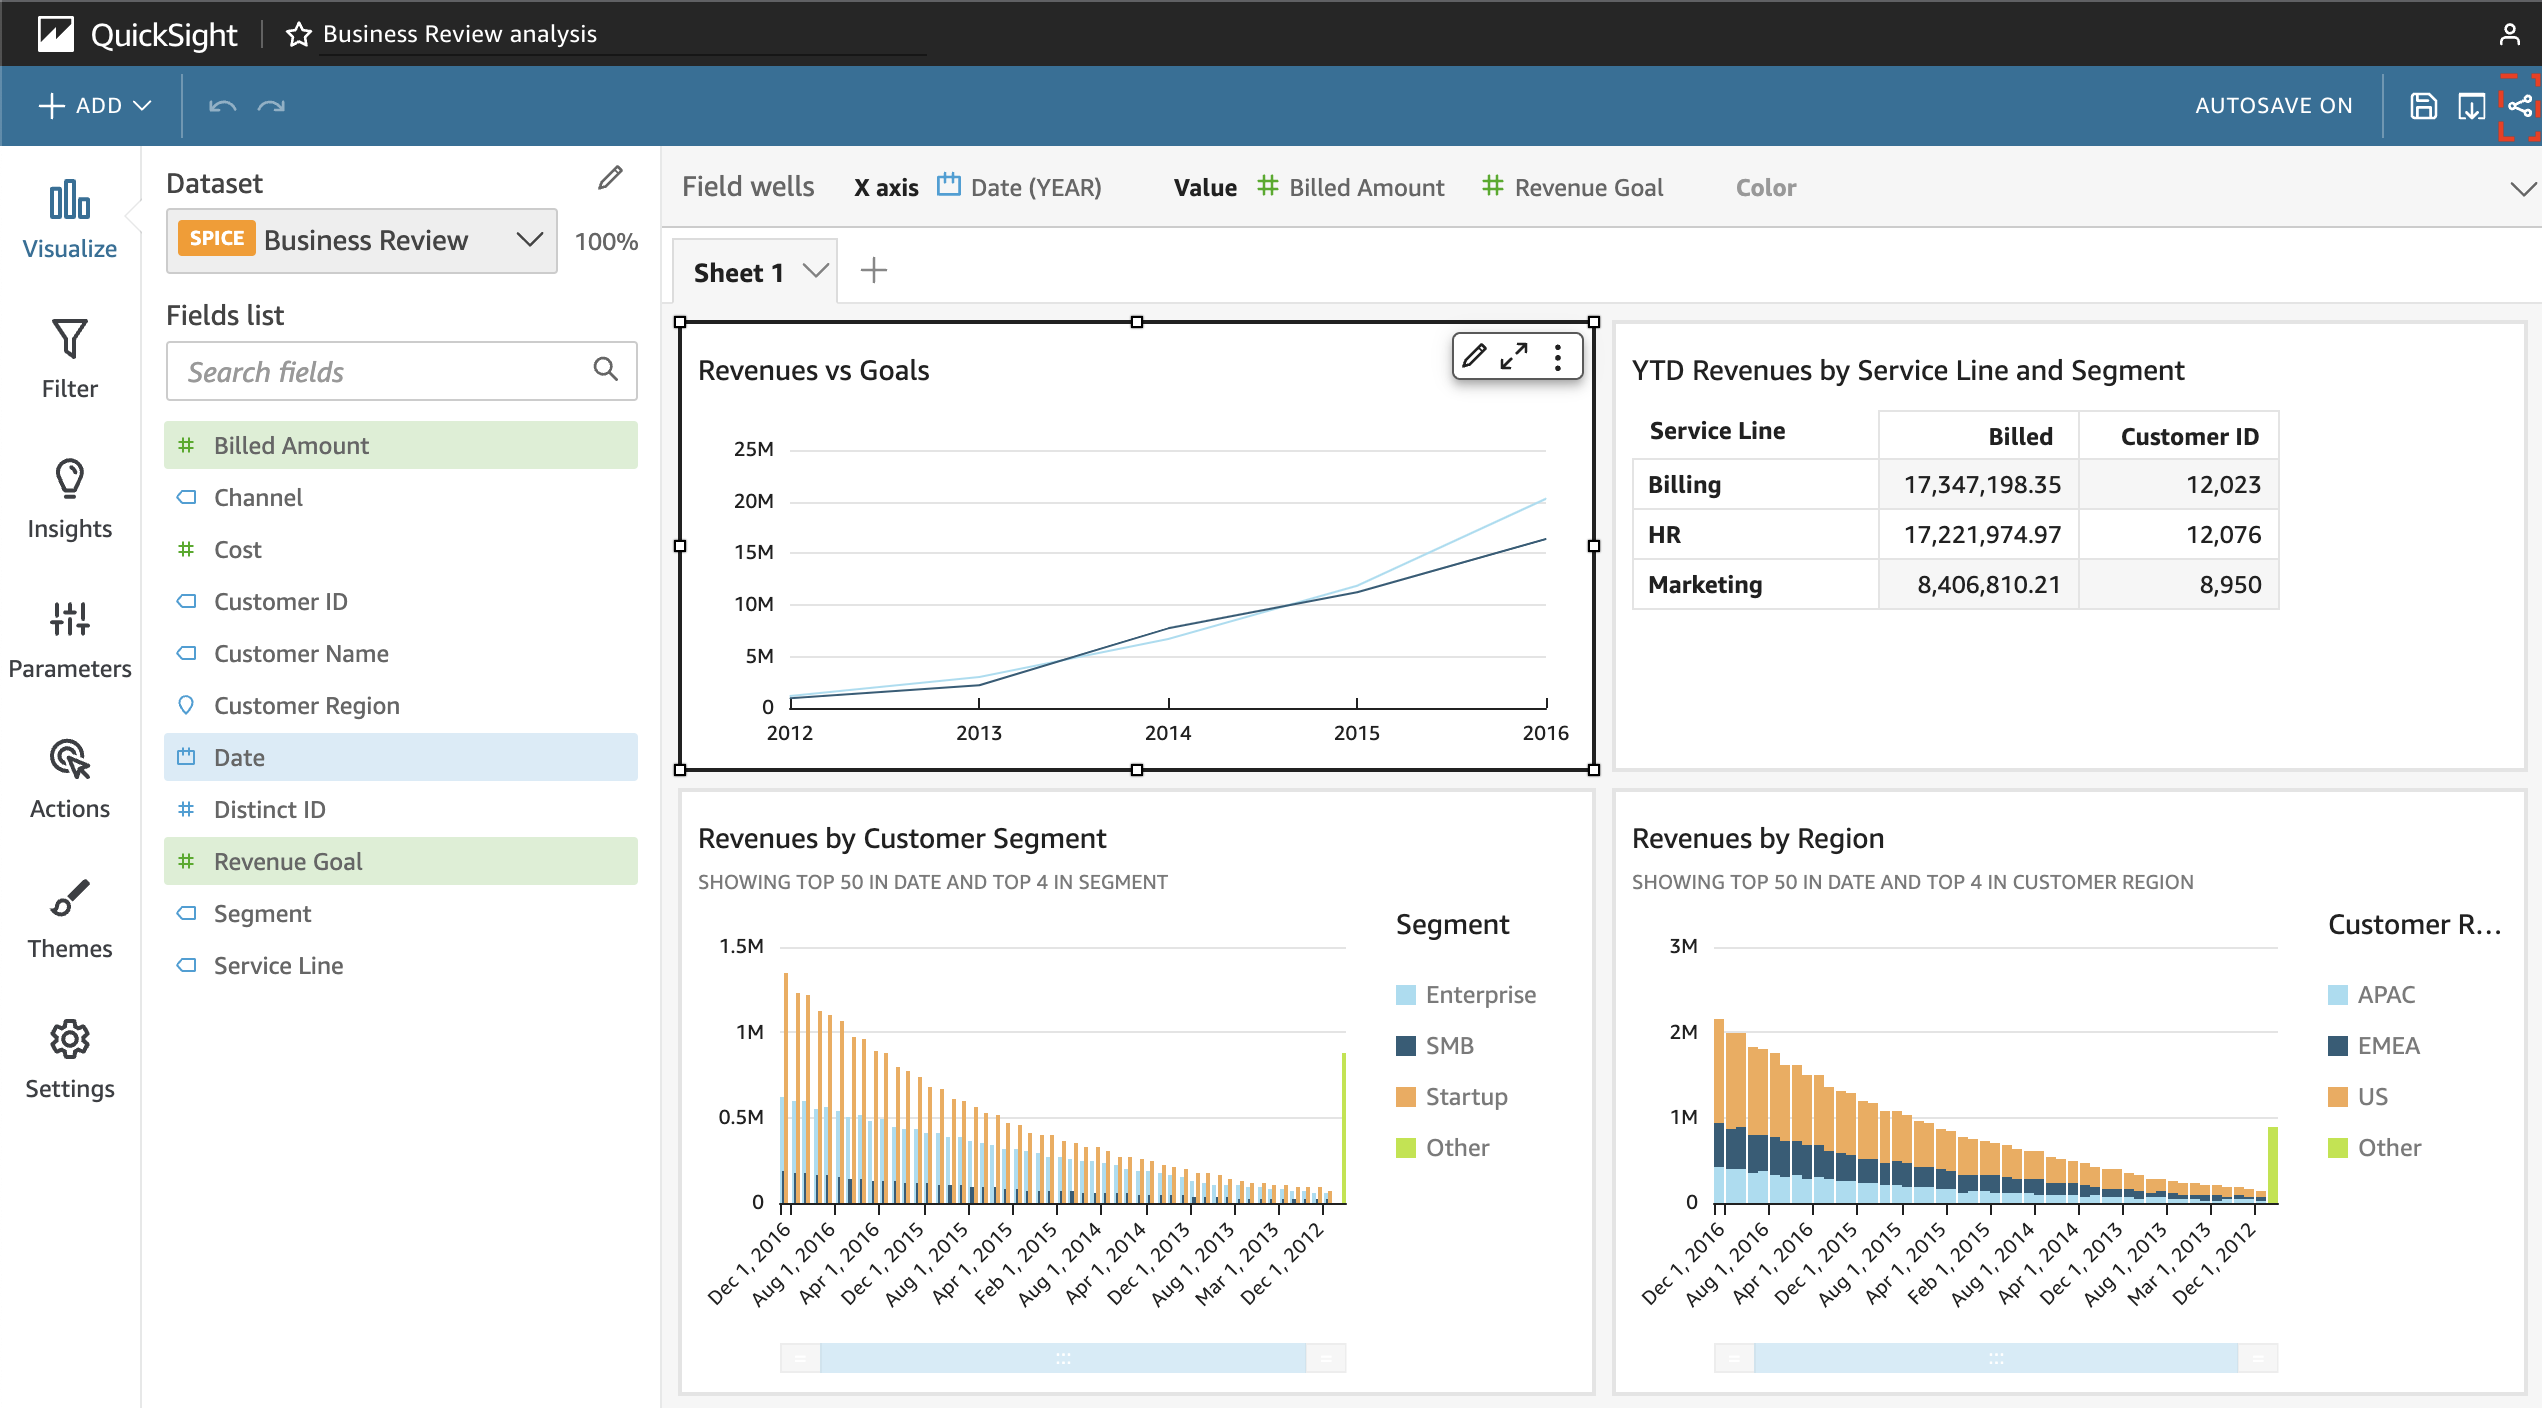
To create and publish a dashboard, go to the QuickSight console and from the "Analyses" section, select the Analysis called "Business Review analysis" which is present by default. Then click the Share button in the upper right corner of the screen.
Name and publish the dashboard.
Embedding the Dashboard
The following axes are available for embedding dashboards
- URL publishing method
- URL embedding method
There are two types of URL publishing methods.
- One-click method
This is the method supported by QuickSight Enterprise Edition, where the embed code is obtained with a single click from a QuickSight dashboard. The URL in the code is a persistent URL. The end user must sign in to QuickSight from a browser to access the embedded dashboard. - URL with authentication code method
Issue URLs with authentication codes from the AWS CLI, Python, etc. The end user does not need to sign in to QuickSight, as the authentication is done on the backend.
There are two ways to embed URLs.
- iframe method
Embed using HTML iframe tags. - SDK method
Embed using SDK.
The following table summarizes the axis combinations.
| URL publishing method | URL embedding method |
|---|---|
| One-click | iframe |
| One-click | SDK |
| URL with authentication code method | iframe |
| URL with authentication code method | SDK |
Below is an implementation of embedding a dashboard in both the one-click method and the URL with authentication code method. Note that the iframe method is used for URL embedding.
One-click Method
With the one-click method, you can easily embed a dashboard in a web page.
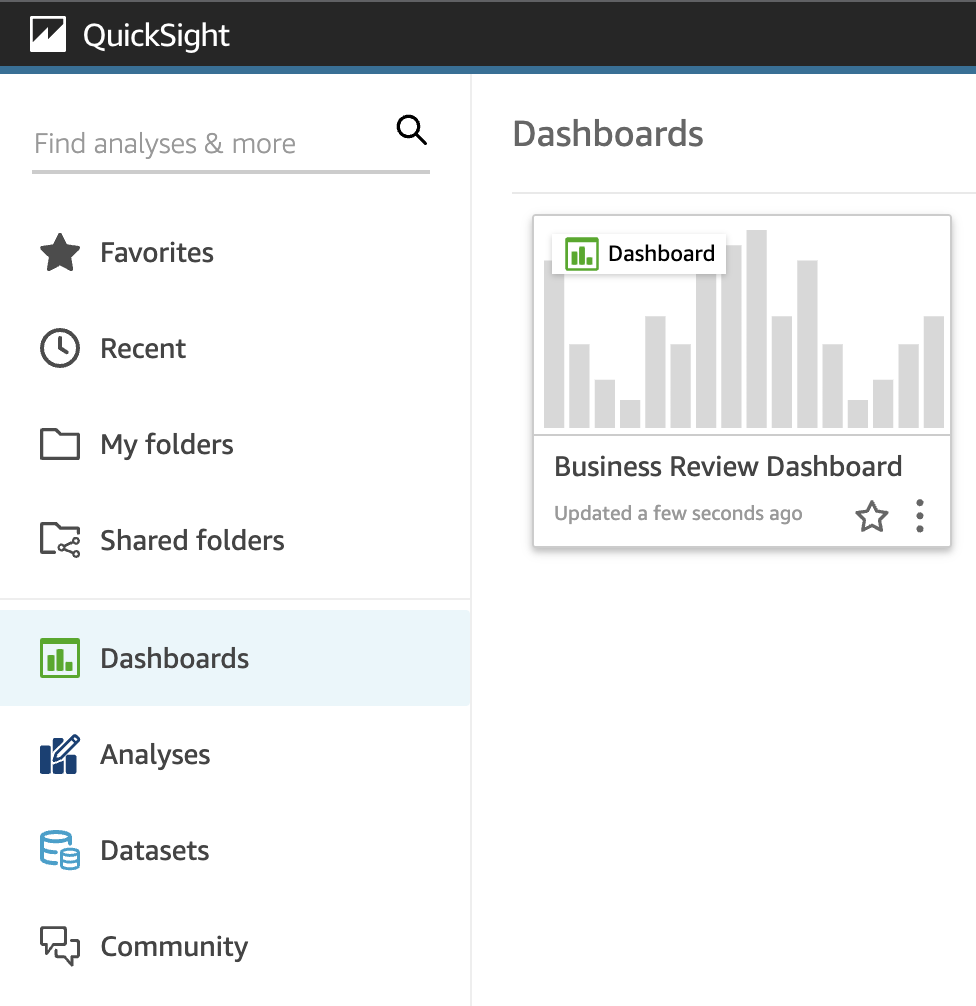
First, select the dashboard you have published from the "Dashboards" section.
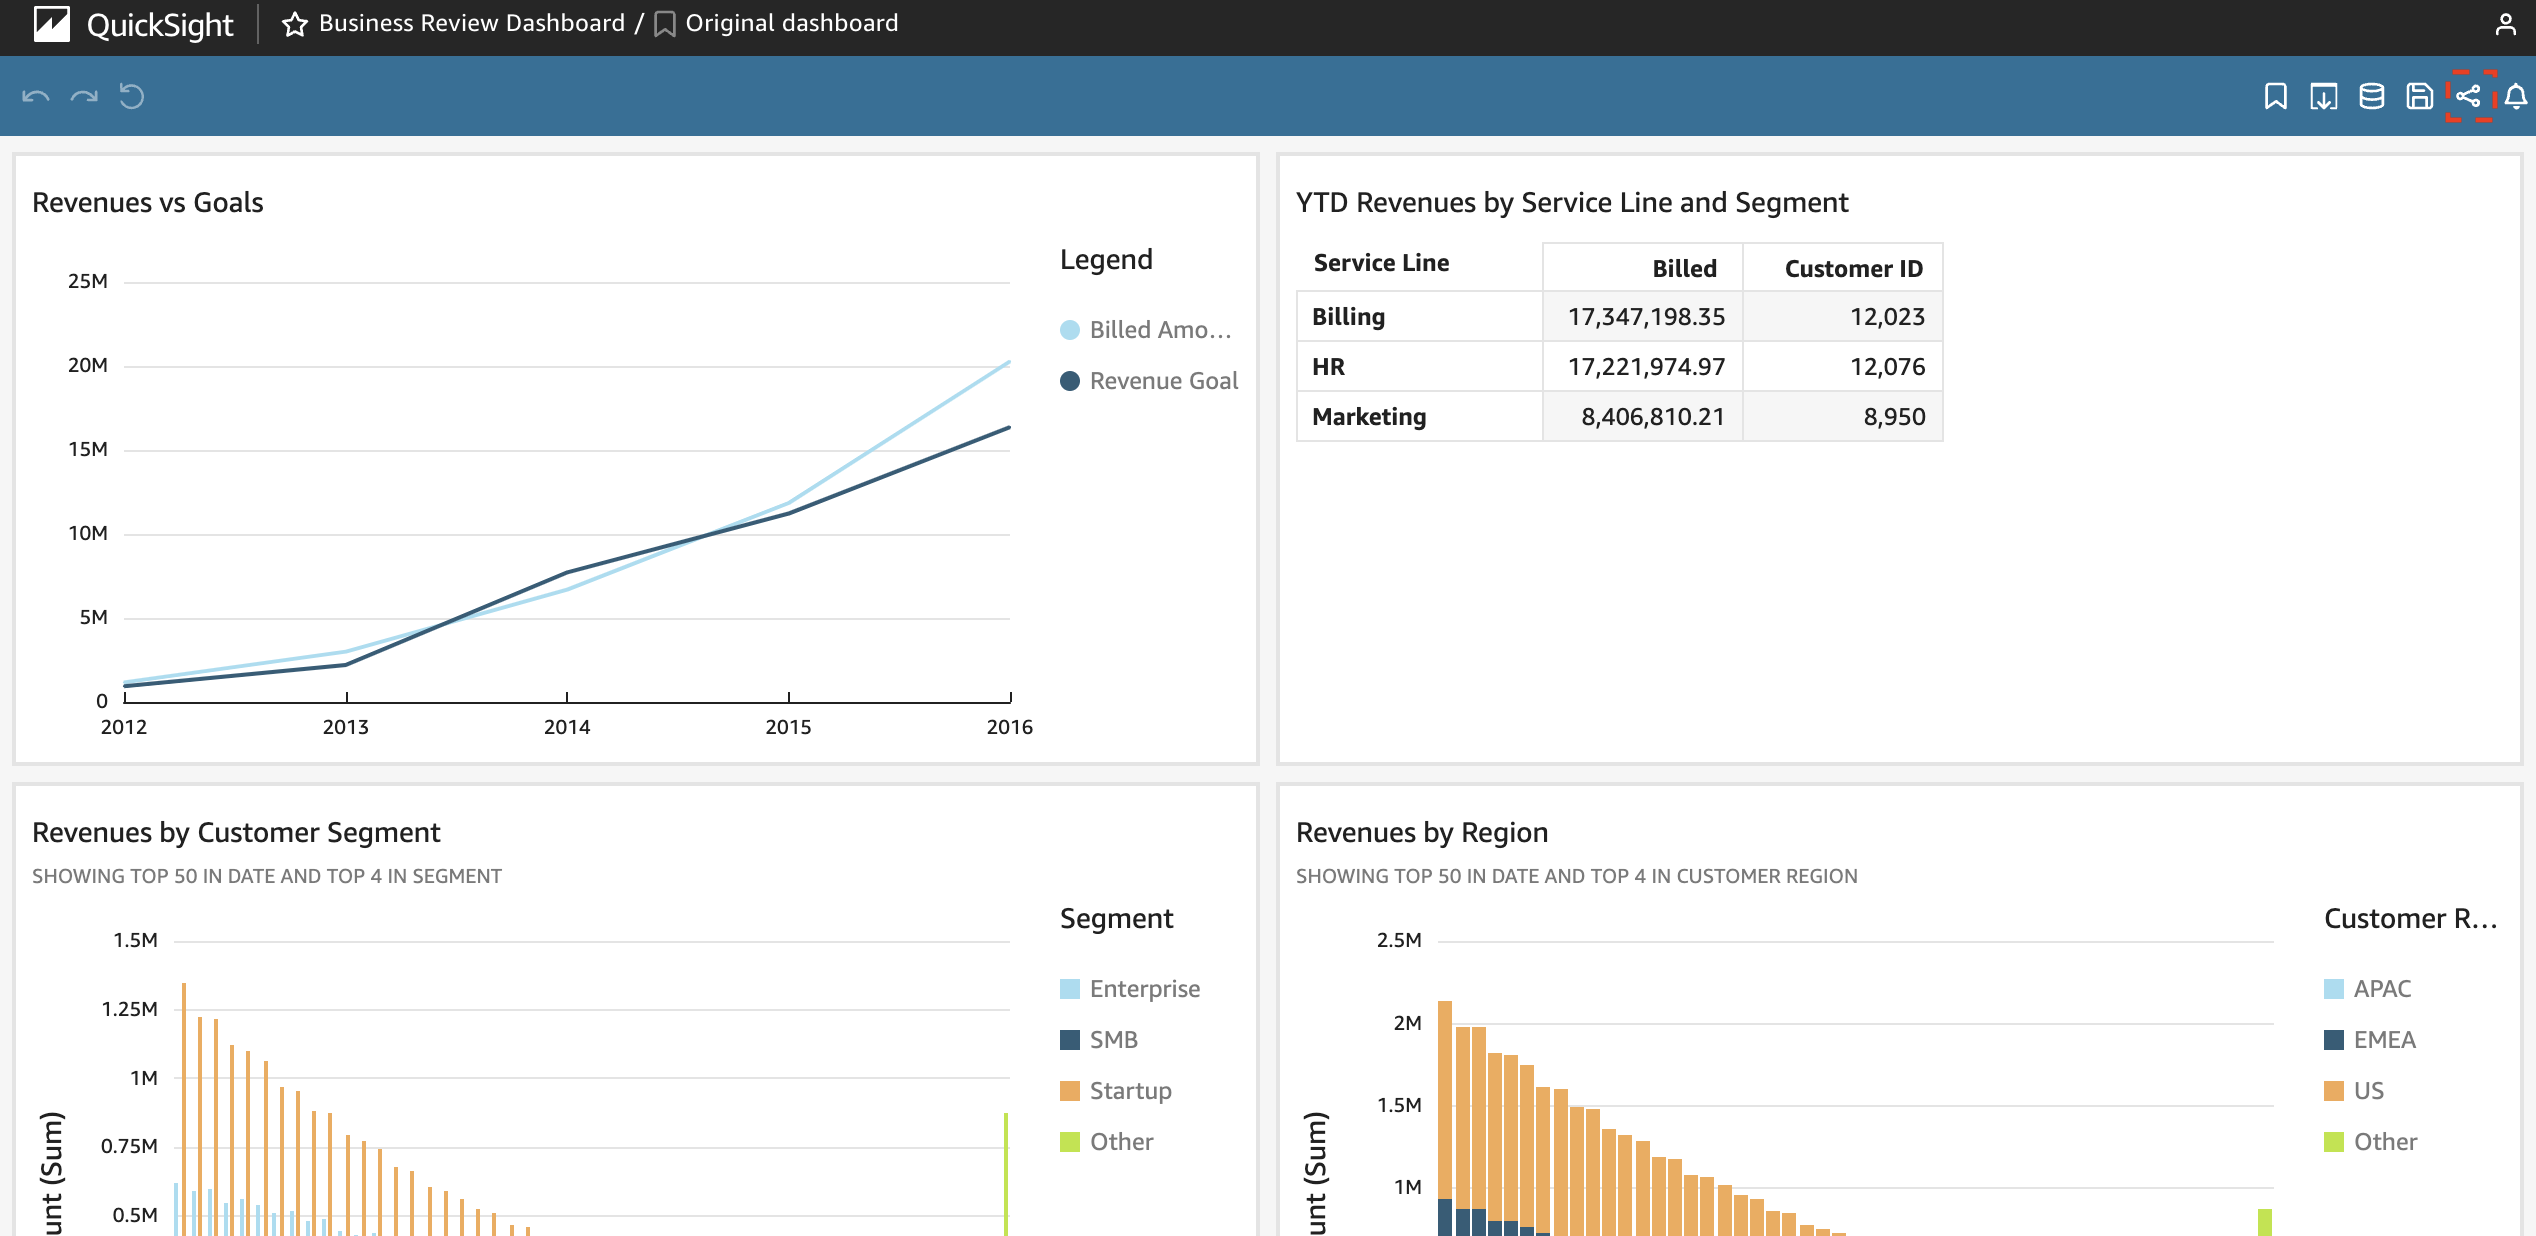
Click the Share button in the upper right corner of the screen.
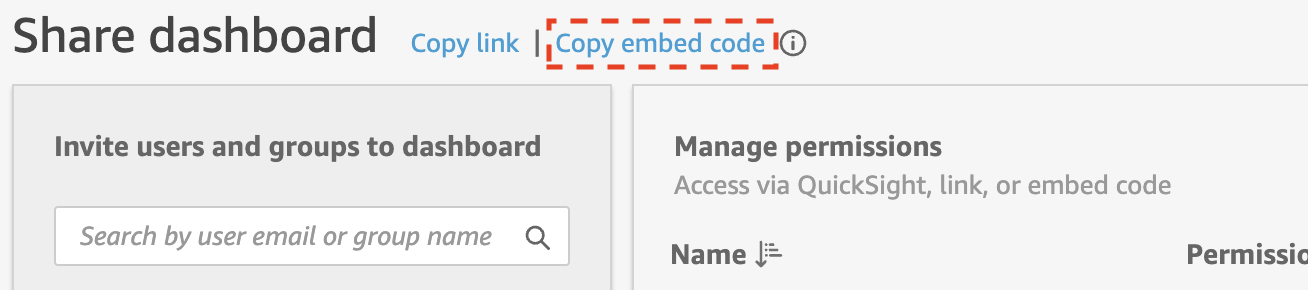
Select "Share dashboard."
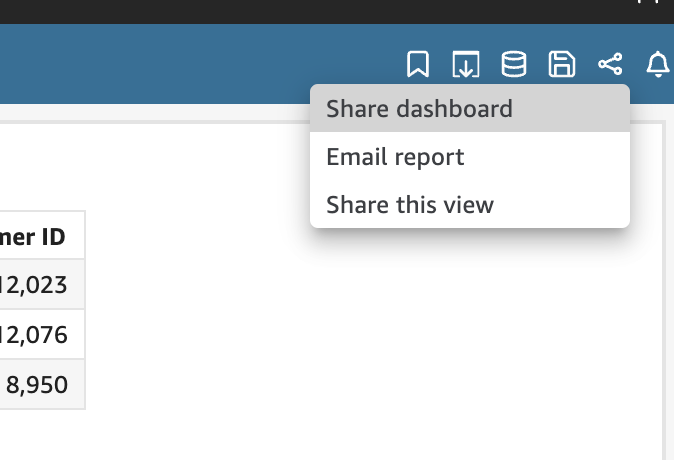
Click on "Copy embed code" to copy the HTML iframe tag.
Add the copied iframe tag to index.html and upload it to S3.
 <!DOCTYPE html>
  <html>
    <head></head>
    <body>
      <div>
        <h1>QuickSight Dashboard Embedding</h1>
+       <iframe
+         width="960"
+         height="720"
+         src="https://ap-northeast-1.quicksight.aws.amazon.com/sn/embed/share/accounts/123456789123/dashboards/aaaaaaa-aaaa-4444-aaaa-aaaaaaaaaaaa?directory_alias=xxx"
+       >
+       </iframe>
      </div>
    </body>
  </html>
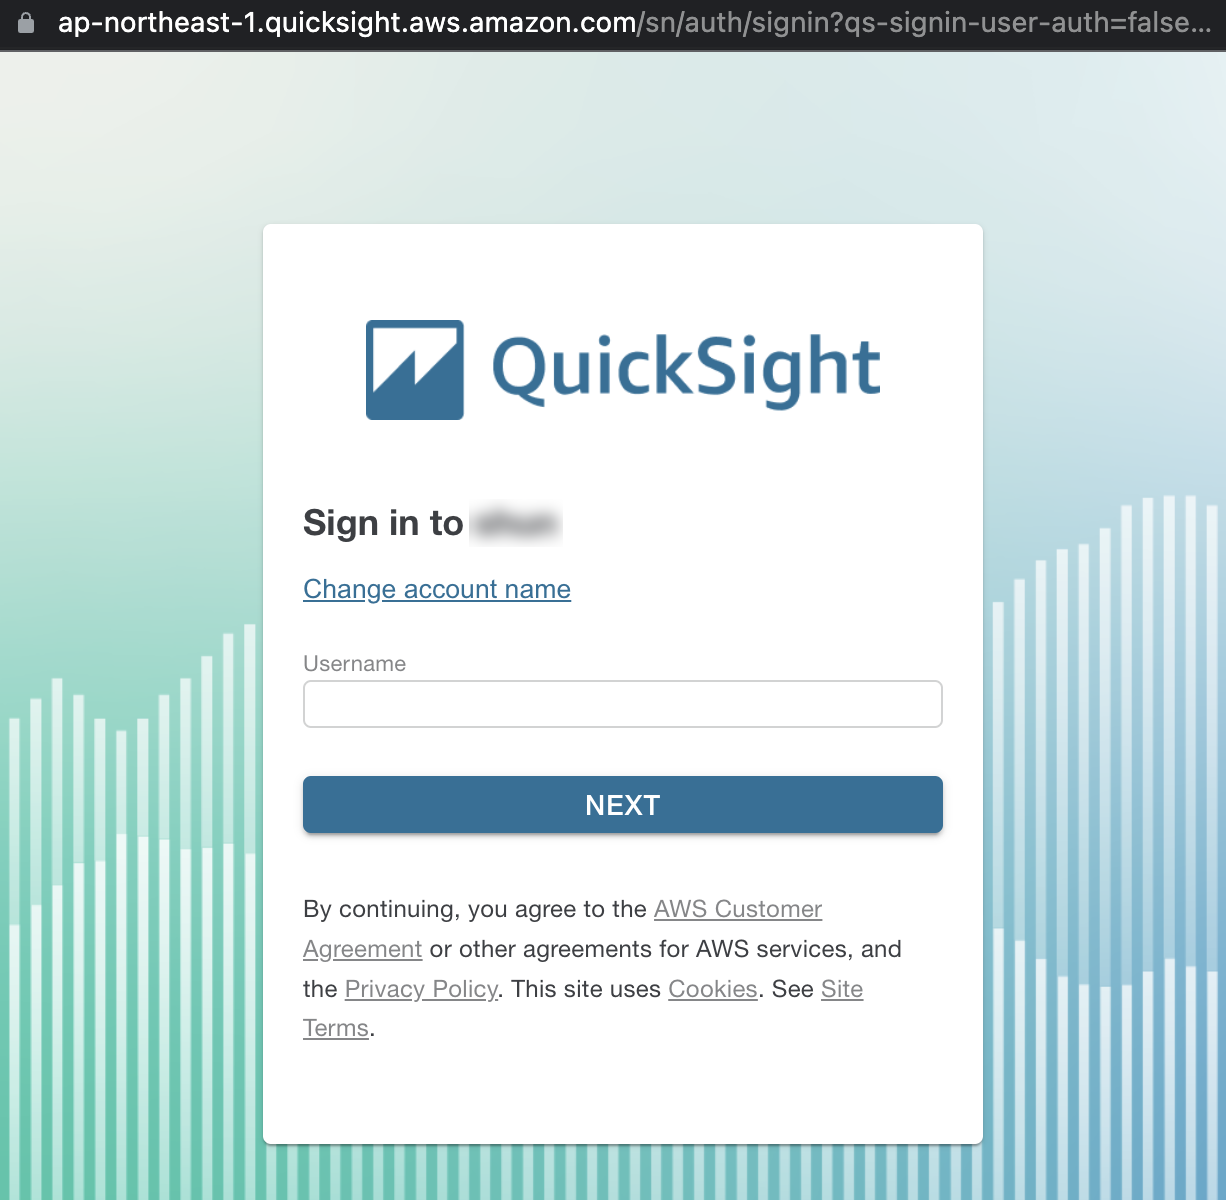
After accessing CloudFront, the QuickSight sign-in screen will appear. Enter your user name and password to sign in.
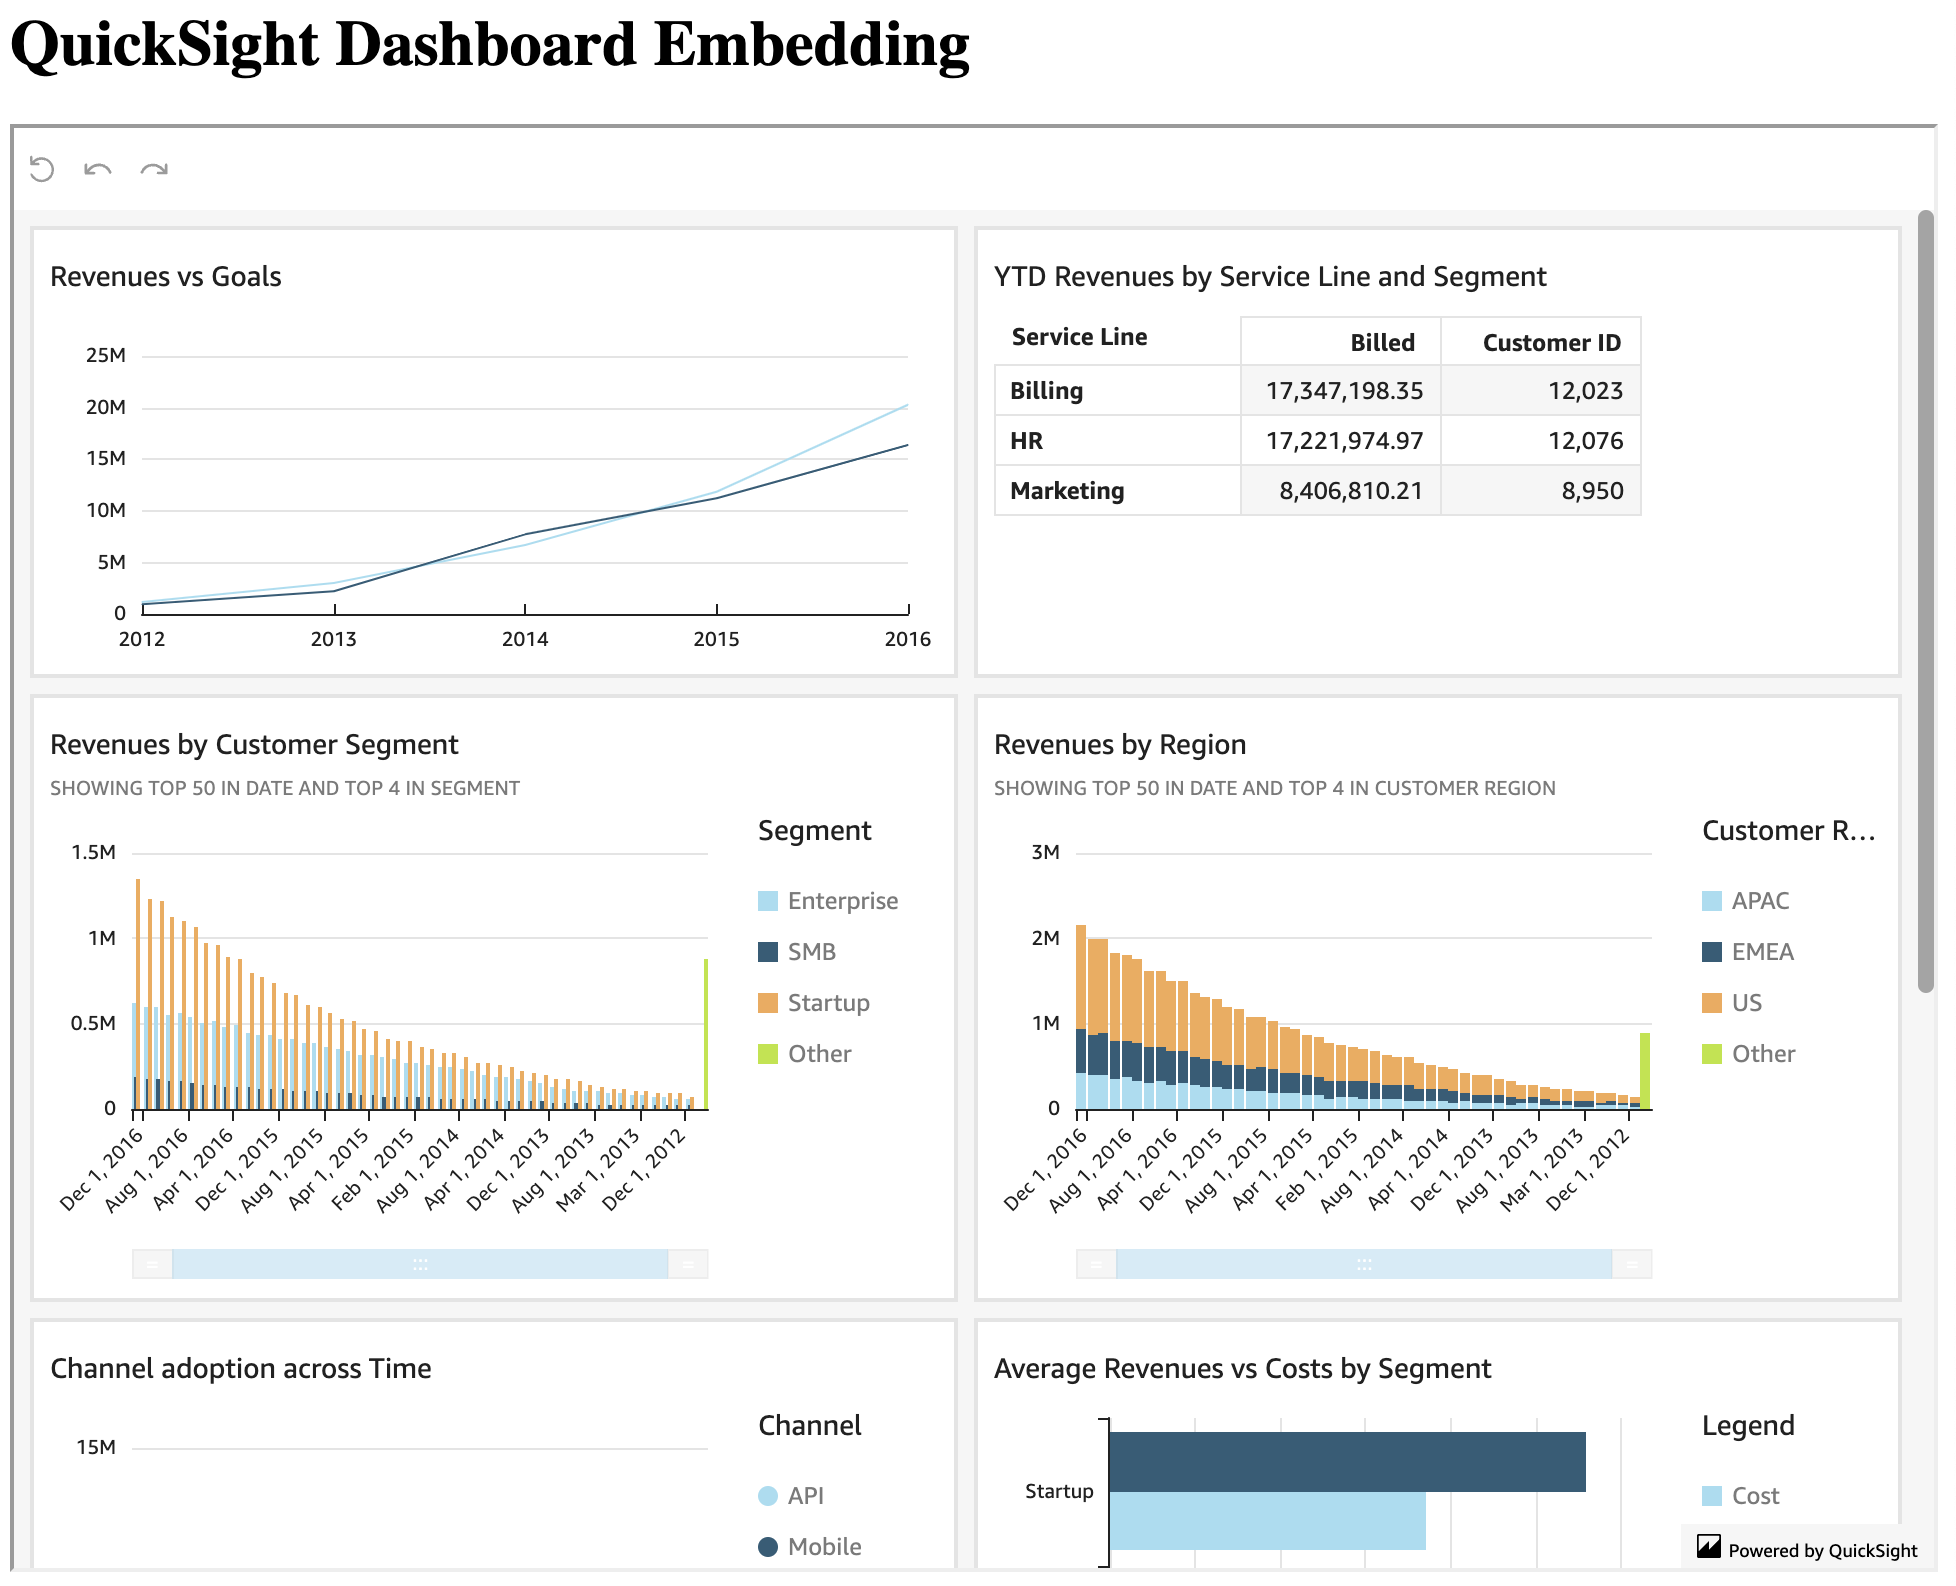
Once you sign in, you can see the embedded dashboard.
Reader Session Capacity
While users were required to sign in to QuickSight to access the embedded dashboard, if you purchase Reader Session Capacity and make the dashboard available to all users, all users will be treated as anonymous users and user sign-in will be This avoids the need for users to sign in. Reader Session Capacity is a one-time purchase of reader (viewer) sessions.
Reader Session Capacity is subscription-based and has the following fee structure
| Type | Capacity (# of sessions) | Price | Overage charge per additional session |
|---|---|---|---|
| Monthly plan | 500 / month | 250 USD | 0.50 USD |
| Annual plan | 50,000 / year | 20,000 USD | 0.40 USD |
| Annual plan | 200,000 / year | 57,600 USD | 0.28 USD |
| Annual plan | 400,000 / year | 96,000 USD | 0.24 USD |
| Annual plan | 800,000 / year | 162,000 USD | 0.20 USD |
| Annual plan | 1,600,000 / year | 258,000 USD | 0.16 USD |
| Annual plan | 3,000,000+ / year | Contact | Contact |
Note that a session is 30 minutes from the time a user initiates an action (login, loading a dashboard, refreshing a page, drilling down or filtering, etc.). Even if QuickSight is open in the background in a browser window or tab, it is not an active session until the visitor initiates an action on the page.
URL with authentication code method
The URL with Authentication Code method retrieves URLs with authentication codes via the AWS CLI, Python, or Node.js APIs. Unlike one-click embedding, this method eliminates the need to enter a user name and password. In this article, I will show you how to obtain URLs with authentication codes via the CLI.
First, click the share button at the upper right corner of the published dashboard screen.
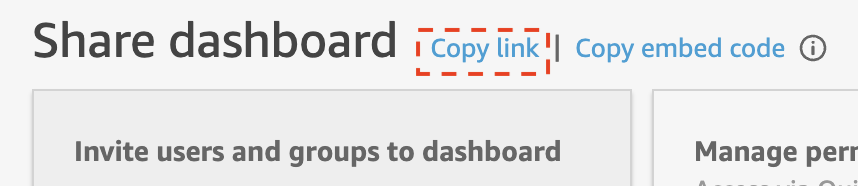
Select "Share dashboard."
Click "Copy link" to copy the dashboard URL.
Next, check the Arn with the aws quicksight list-users command.
$ aws quicksight list-users --aws-account-id 123456789123 --namespace default --region ap-northeast-1

{
    "Status": 200,
    "UserList": [
        {
            "Arn": "arn:aws:quicksight:ap-northeast-1:123456789123:user/default/hoge",
            "UserName": "hoge",
            "Email": "hoge@example.com",
            "Role": "ADMIN",
            "IdentityType": "IAM",
            "Active": true,
            "PrincipalId": "federated/iam/XXXXXXXXXXXXXXXXXXXX"
        }
    ],
    "RequestId": "xxxxxxxx-xxxx-xxxx-xxxx-xxxxxxxxxxxx"
}
Then use the aws quicksight generate-embed-url-for-registered-user command to get the embedded URL. The --user-arn is the Arn obtained with the aws quicksight list-users command, and the <Dashboard ID> is the URL of the dashboard you copied.
$ aws quicksight generate-embed-url-for-registered-user \
  --aws-account-id 123456789123 \
  --user-arn "arn:aws:quicksight:ap-northeast-1:123456789123:user/default/hoge" \
  --experience-configuration '{"Dashboard": {"InitialDashboardId": "<Dashboard ID>"}}'

{
    "Status": 200,
    "EmbedUrl": "https://ap-northeast-1.quicksight.aws.amazon.com/embedding/xxxxxxxxxxxxxxxxxxxxxxxxxxxxxxxx/start?code=....",
    "RequestId": "aaaaaaaa-0000-44444-aaaa-aaaaaaaaaaaa"
}
You have successfully obtained an embedded URL (EmbedUrl). Note that the EmbedUrl is valid for 5 minutes.
Replace the src of the iframe tag in index.html with the obtained EmbedUrl and upload it to S3.
 <!DOCTYPE html>
  <html>
    <head></head>
    <body>
      <div>
        <h1>QuickSight Dashboard Embedding</h1>
         <iframe
           width="960"
           height="720"
+          src="https://ap-northeast-1.quicksight.aws.amazon.com/embedding/xxxxxxxxxxxxxxxxxxxxxxxxxxxxxxxx/start?code=...."
        >
        </iframe>
      </div>
    </body>
  </html>
Accessing CloudFront, you can verify that you can browse the dashboard without signing in.
About the generate-embed-url-for-registered-user command
The aws quicksight generate-embed-url-for-registered-user command can have various options. See below for details.
I will introduce --session-lifetime-in-minutes and --experience-configuration.
--session-lifetime-in-minutes
The --session-lifetime-in-minutes allows you to set the session lifetime. The configurable expiration time ranges from 15 to 600 minutes, and defaults to 600 minutes.
Embedded URLs expire in 5 minutes, but once the embedded URL is accessed, the token is retained in the session.
--experience-configuration
--experience-configuration specifies what to display when embedding. The following can be displayed.
- Dashboard (
Dashboard) - QuickSight console (
QuickSightConsole) - Visual (
DashboardVisual) - QuickSight Q search bar (
QSearchBar)
The syntax is as follows
{
  "Dashboard": {
    "InitialDashboardId": "string"
  },
  "QuickSightConsole": {
    "InitialPath": "string"
  },
  "DashboardVisual": {
    "InitialDashboardVisualId": {
      "DashboardId": "string",
      "SheetId": "string",
      "VisualId": "string"
    }
  },
  "QSearchBar": {
    "InitialTopicId": "string"
  }
}
For example, --experience-configuration '{"QuickSightConsole": {"InitialPath":"/start"}}' can be used to embed a QuickSight console. The InitialPath can also be the ID of a dashboard or the ID of an Analysis.
However, since InitialPath is only the initial display path, it is not fixed to a specific dashboard or analysis, but can be used to transition to a dashboard or analysis like QuickSight's console.
References


Ryusei Kakujo


Weave the future of cities through data
Transportation modeling/ Urban planning/ Machine learning/ Computer science/ GIS