

Introduction
By using the next-sitemap library, you can easily generate a sitemap for your website built with Next.js. In this article, we will walk you through the process of creating a sitemap using next-sitemap and how to register it with Google Search Console.
Installing next-sitemap
To install the next-sitemap library, use the following command:
$ npm i --save next-sitemap
Creating the Config File
Create a next-sitemap.config.js file at the root of your project with the following content:
/** @type {import('next-sitemap').IConfig} */
module.exports = {
  siteUrl: 'https://io.traffine.com/',
  generateRobotsTxt: true,
  sitemapSize: 7000,
};
siteUrl: The base URL of your website.sitemapSize: 7000: If the number of URLs in the sitemap exceeds 7,000, an index (sitemap.xml) and multiple sitemap files (sitemap-0.xml, etc.) will be generated.
Editing package.json
Edit your package.json file and add postbuild as a script to be executed after the build:
{
...

   "build": "next build",
+  "postbuild": "next-sitemap --config next-sitemap.config.js"

...
}
Every time you run npm run build, files like sitemap.xml and robot.txt will be generated in the public folder.
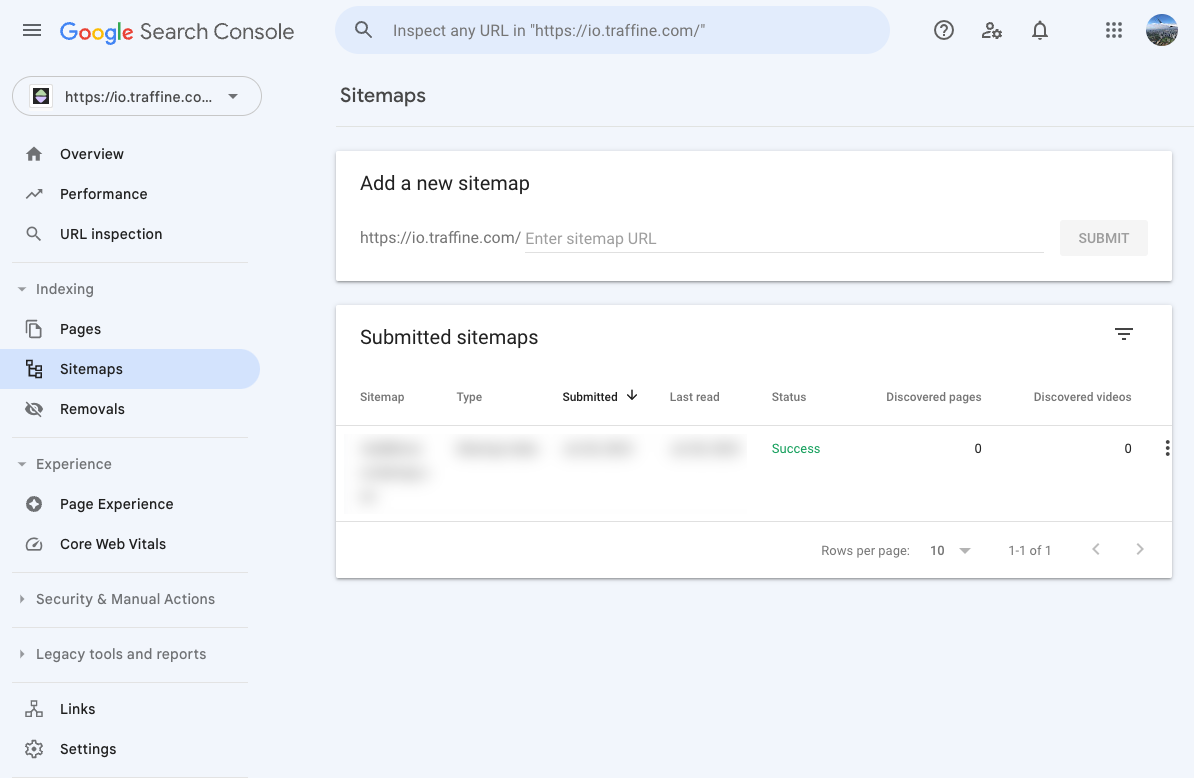
Registering with Google Search Console
Log in to Google Search Console and navigate to the sitemaps section.
Register your sitemap's URL, and you only need to register /sitemap.xml. Once successfully registered, the status will show as Success.
References


Ryusei Kakujo


Weave the future of cities through data
Transportation modeling/ Urban planning/ Machine learning/ Computer science/ GIS